Developer Mode
Developer Mode allows a partner to call the Hub API, bypassing the Developer Portal Playground and integrating a custom solution to call the Hub API to perform ID verification.
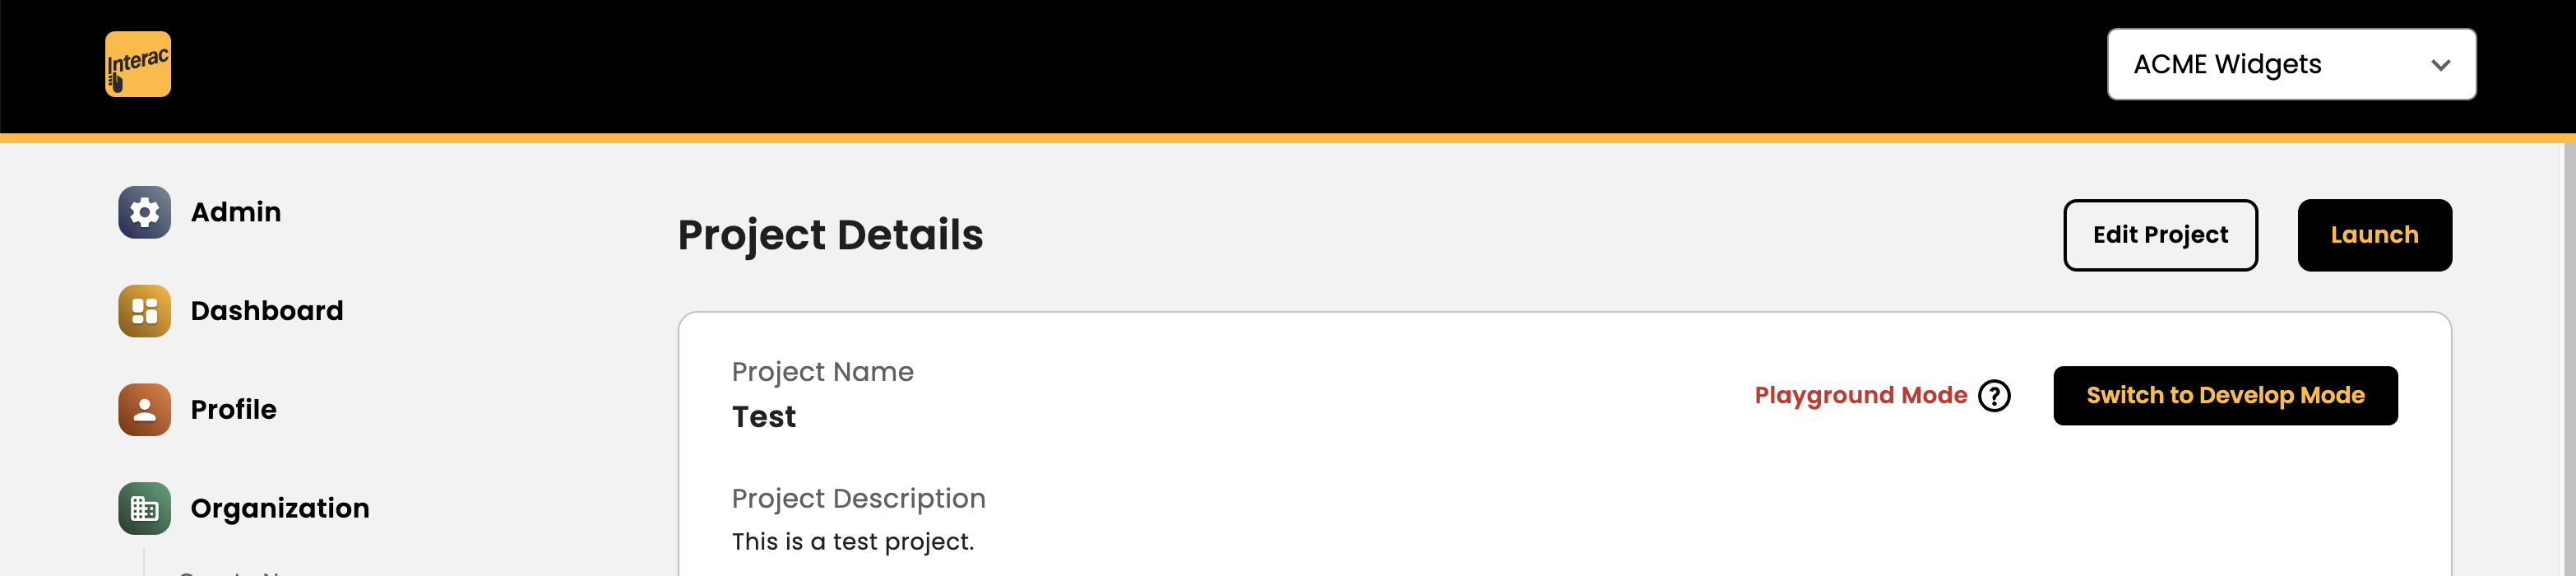
To enable partner integration via API calls, click the Switch to Desktop Mode button.
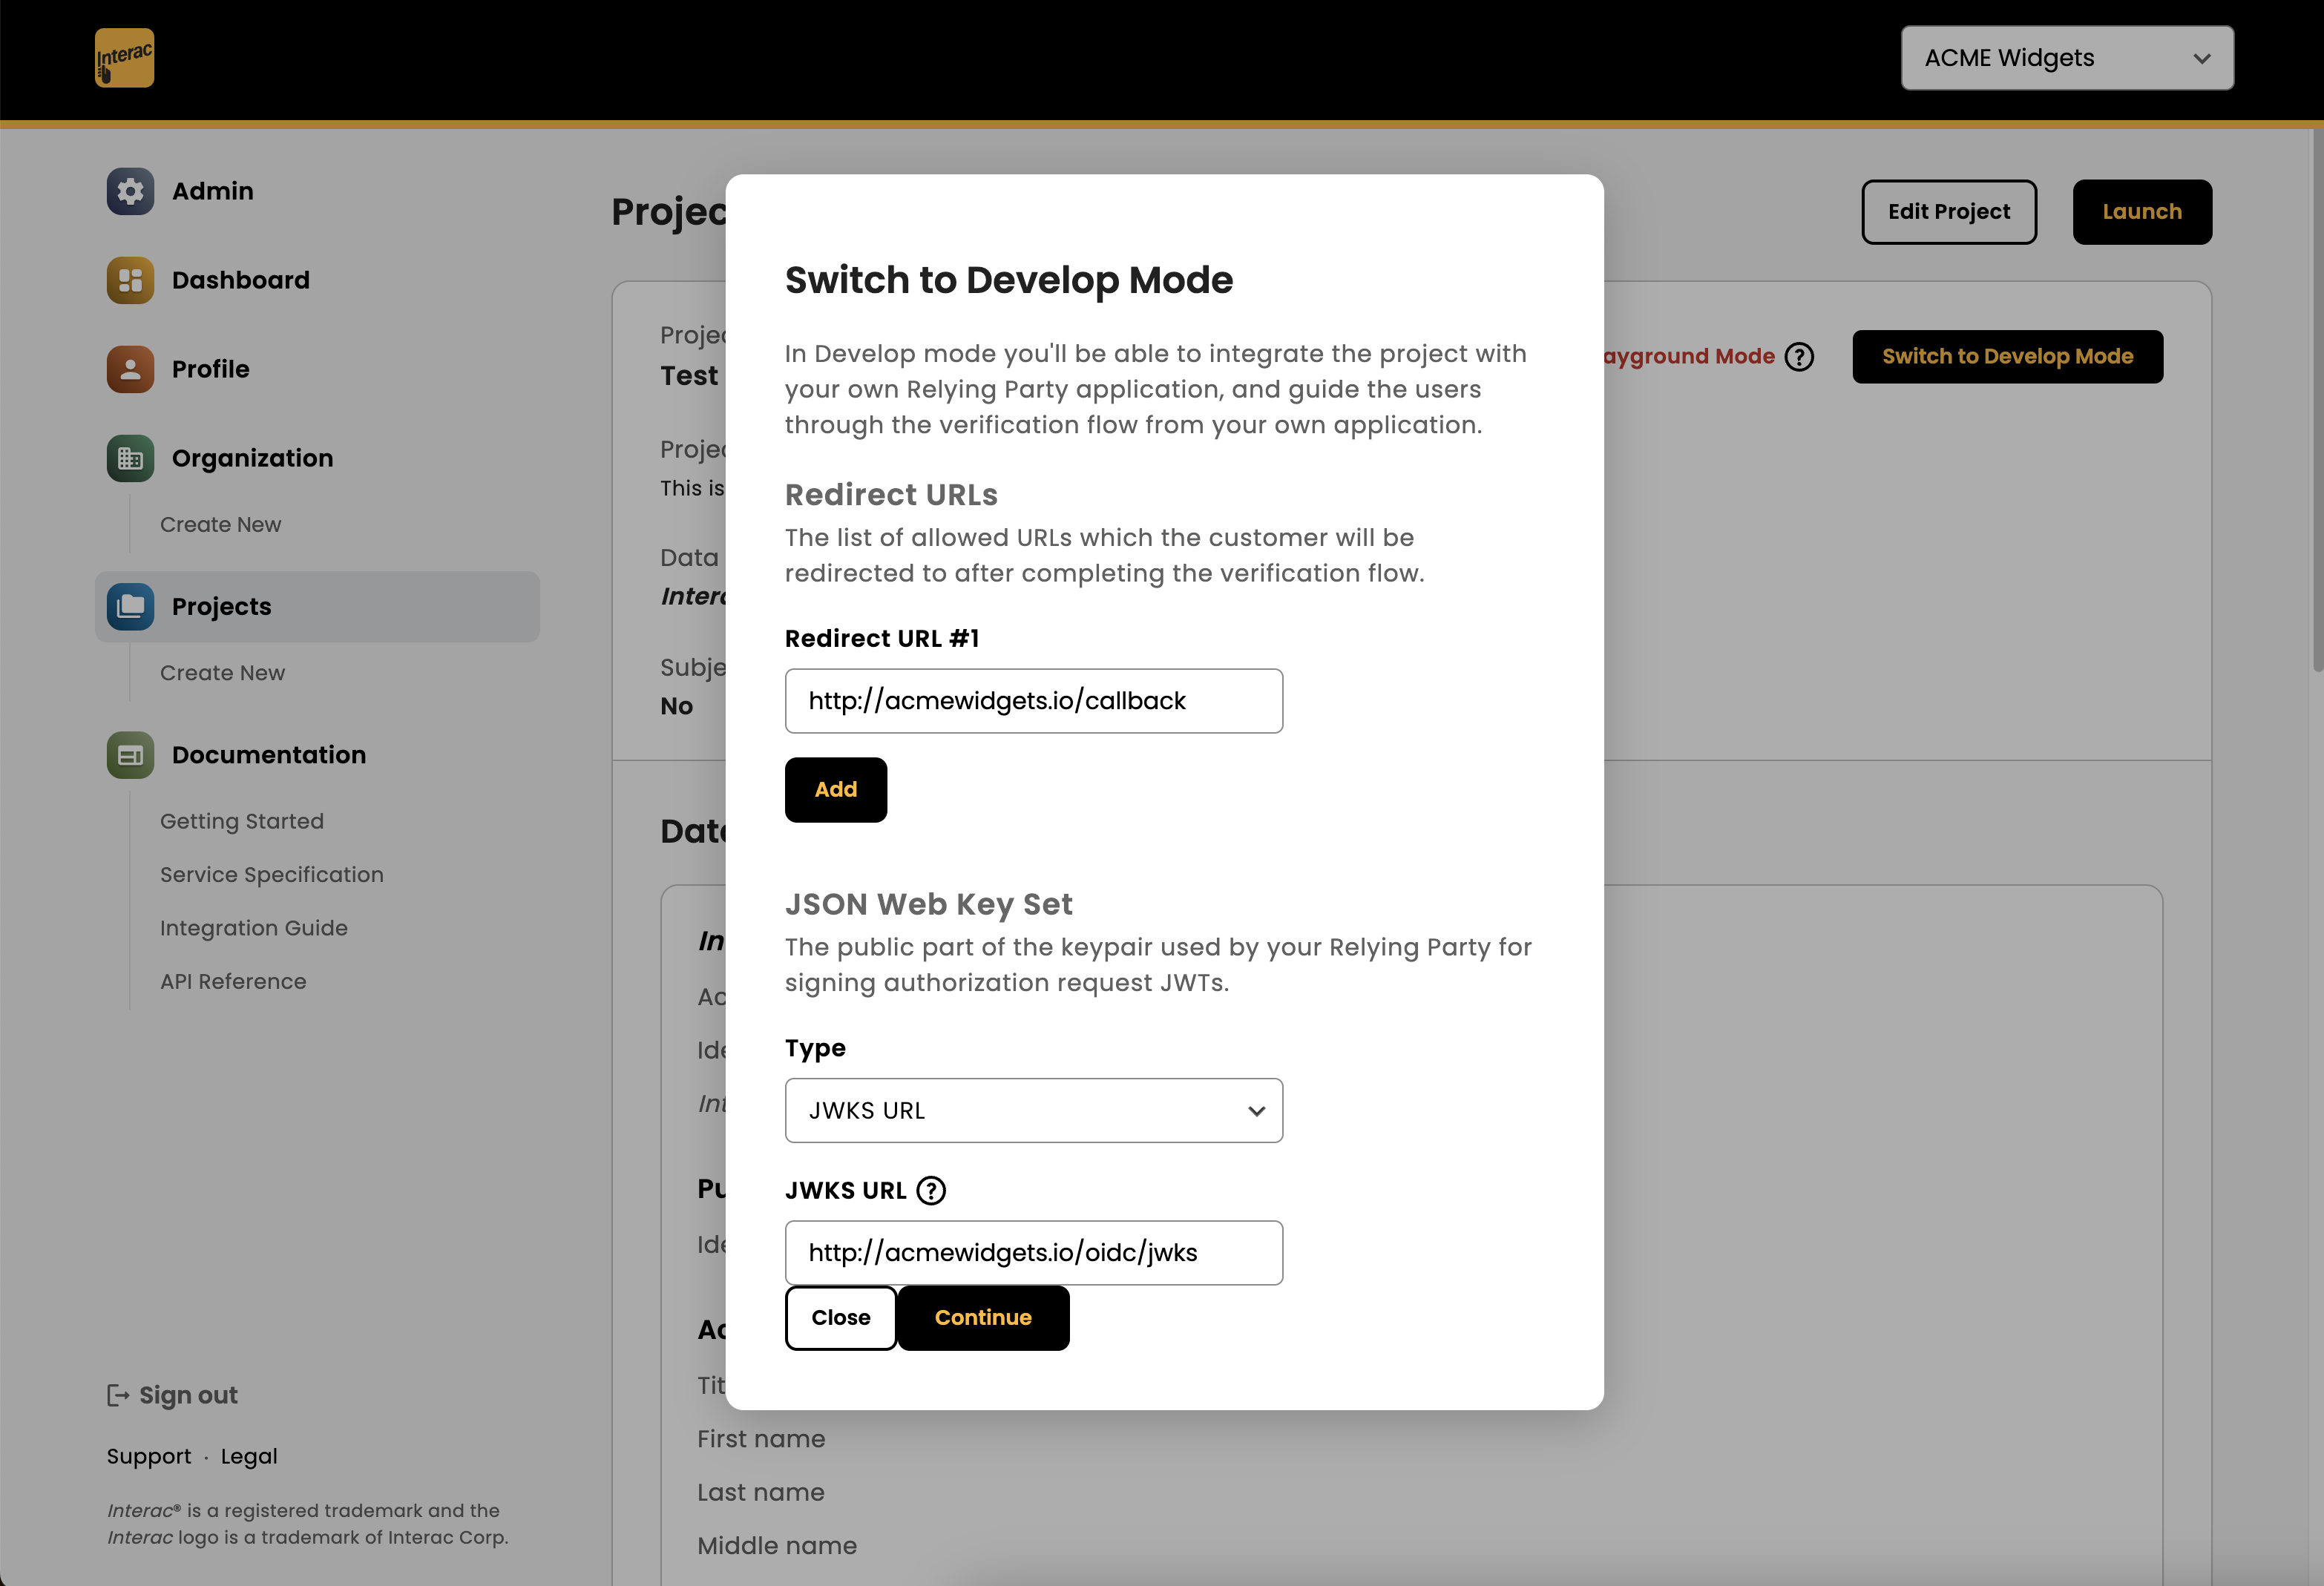
A configuration pop-up will be presented to collect some additional information:
- Redirect URL #1: This is the callback URL the Interac Hub will redirect the users back to once ID verification is complete. This is also the same URL the Interac Hub will use to return information back to the partner, such as the authorization code (OAuth 2 authorization code grant) or error messages via URL query parameters. You can add multiple redirect URLs.
- JWKS URL: This is the URL hosting a public key in JSON Web Key (JWK) format. This public key must be an RSA key with the RS256 algorithm. Refer to the Integration Guide in the HUB DOCUMENTATION section for more details on the format. An example from the Developer Portal can be found here: <https://gateway-portal.hub-verify.innovation.interac.ca/.well-known/openid-configuration>
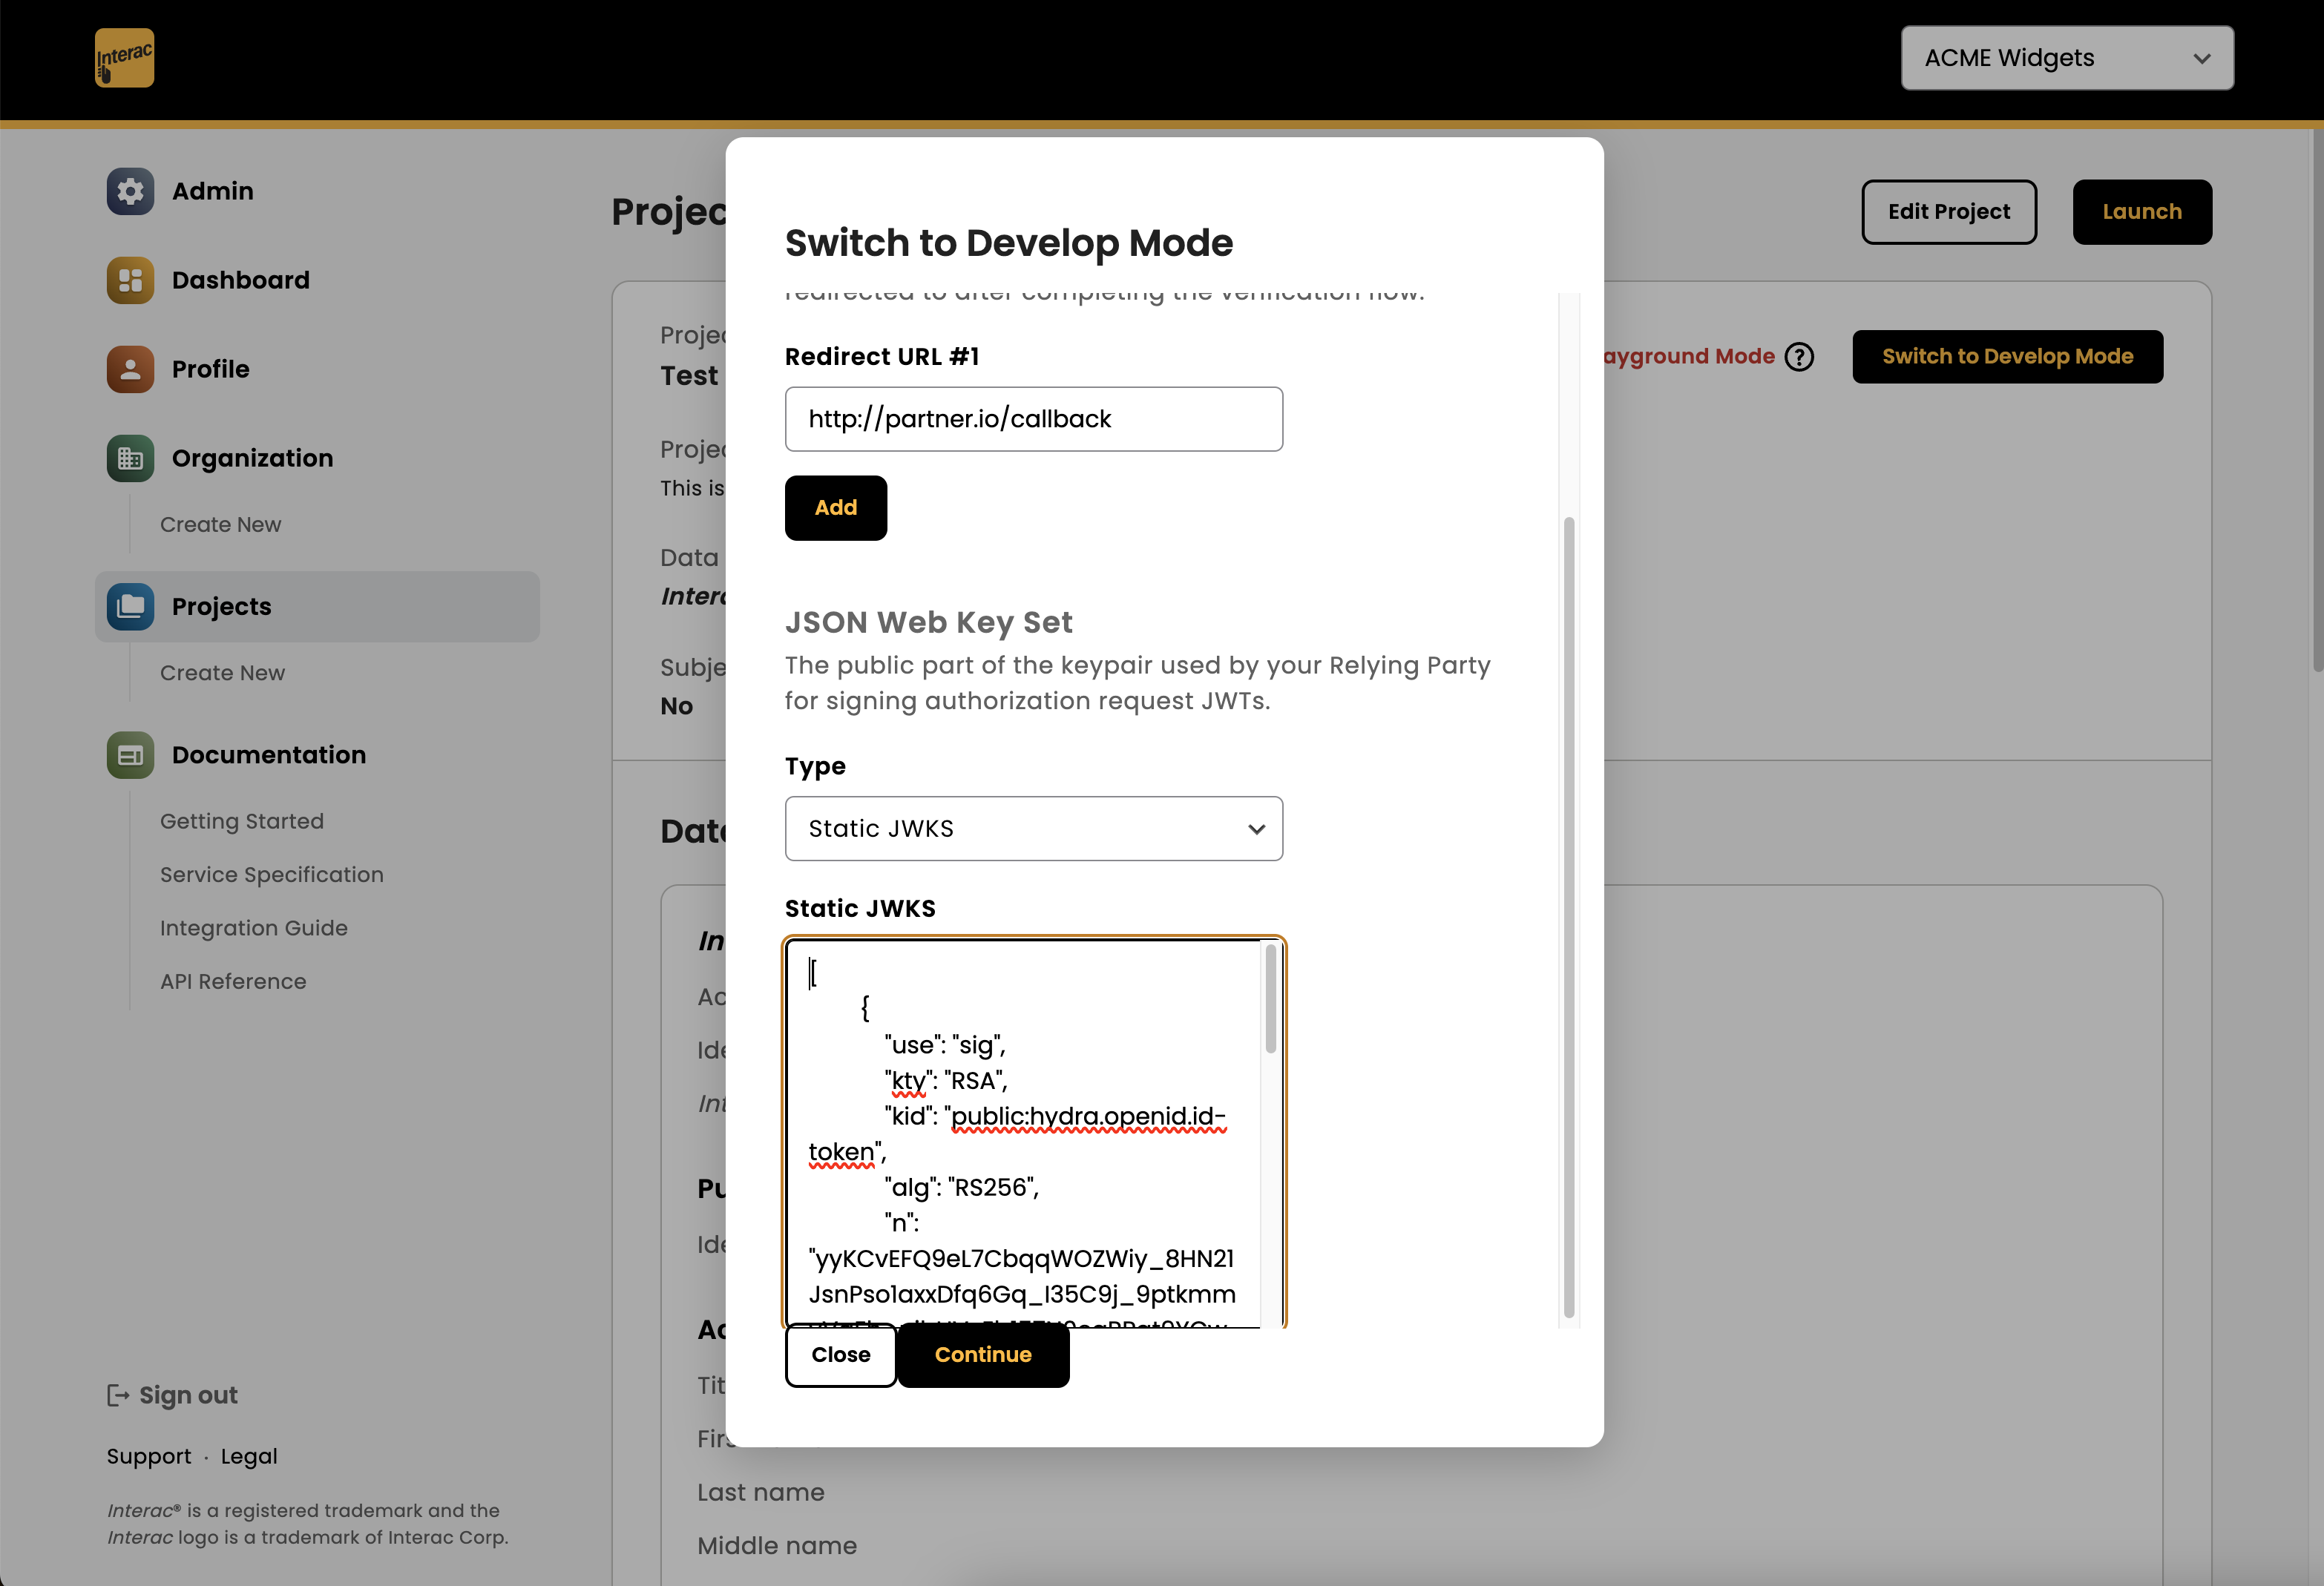
- Static JWK: Alternatively, you can copy/paste the public RSA key (in JWK format) directly.
You must enclose the JWK as an array separated by square brackets
[ ].[ { "use": "sig", "kty": "RSA", "kid": "public:hydra.openid.id-token", "alg": "RS256", "n": "yyKCvEFQ9eL7CbqqWOZWiy_8HN21JsnPso1axxDfq6Gq_I35C9j_9ptkmmvVaEh_nibHVyEb157N0cgRPat9YGwkYzFXbNKd2BehVV80ARK02iJETLR-aC06I3ZZjNq6-5Cvwdw6iv-YXlBSNznxbxrtDrYNbJGmbqYT2Nm9vX5OAe3QjEZBOes7ZYwAy5J6qGvrfGftJi34RWvuFcWD3RfGeg9JM0UyT6RDixQdFNmXvbqYtwZtt7DIBEBNulOYNtM1pJ2boKPd4OjH03lEV_Z2HQE6bQwSX1gHiWIh19_z9C2qiDfmkH-PfMTBh2dSUN161vASnWJwScTjRyKuvzqZFKc9DegnoyXiiVh8dvbJKTLg8FF2llolRzQGGdouloLf_eN1nkbvI7mTLgoC0uFM96rn1kLMl-ZlHKU_pa_49xQT5vzvlX5CXu0KSin660BW83fgFRDYPZC8FwJJnEBLyJYHVEEGXHMTPzaNE8d6M2zYmrmelf7F5vmHe0OZG9huWqTVU-dAHJN6kxGpMj8TZ3HX3JNcOpOXOS7mseVhjnwngkKZJZ7dczqas9x6cTy_xqeJZEjxkEFl03v62qx1eEXN3\_\_cj-AqDpfesG2CjkfiSiPJAScd2jd4H3LztYCjF1EYhy3PZRgr3DSyNa6YoO5fHD1TrSXlFfoYpUk", "e": "AQAB" } ]
The project configuration panel will then be updated with these new configuration details.
Additionally, Open ID Connect panel is now available with key information needed to start making API calls to the Interac Hub.
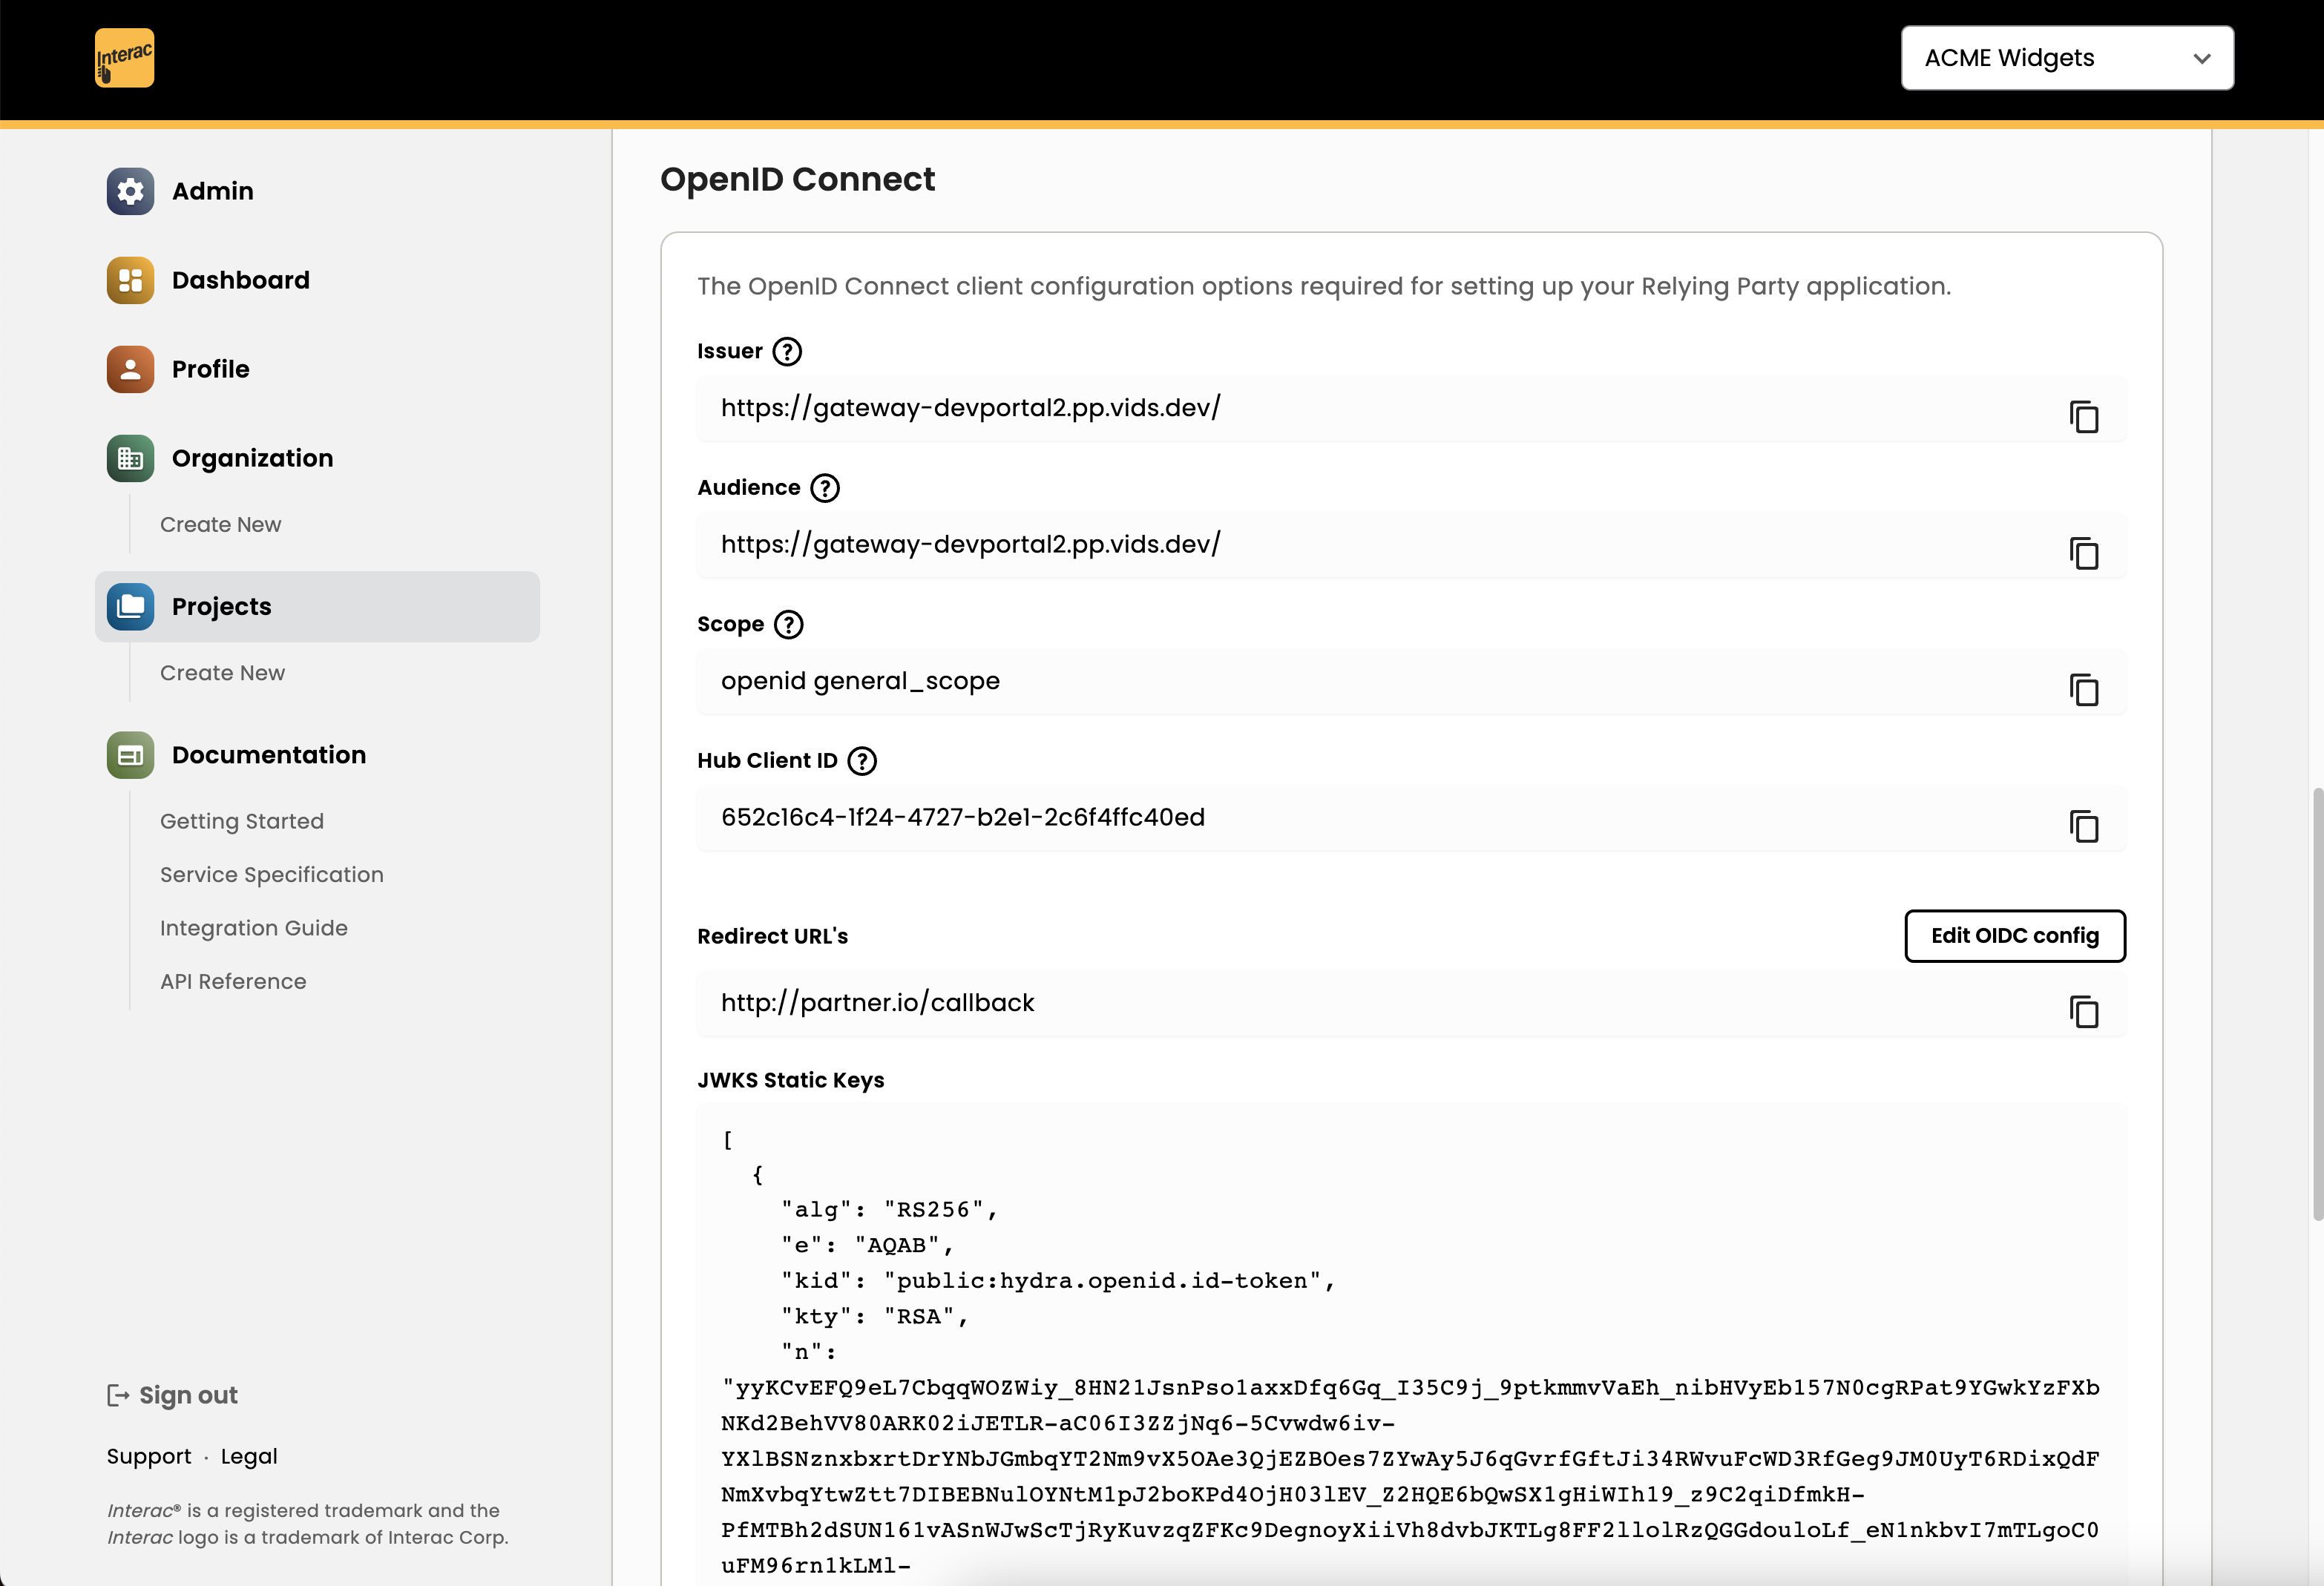
To begin making HTTP requests to the Hub API, you will need the following:
- Hub Client ID: This is the unique identifier you will need to call the GET /auth and POST /token Hub API endpoints.
- Scope: This is the name of the OIDC scope you will need to include as a request parameter in the GET /auth and POST /token requests.
- Issuer: You will need to append the
.well-known/openid-configurationsuffix to this URL to get a JSON metadata file containing all the Hub API endpoints. For example: <https://gateway-portal.hub-verify.innovation.interac.ca/.well-known/openid-configuration>. Refer to the Integration Guide for which endpoints to call and in what order to call them.
With this information, you can either use a tool such as curl or Postman to initiate the HTTP API calls to the Interac Hub, or programmatically using whichever library functions are offered in your programming environment of choice (e.g. the requests library in Python).
In addition to the Integration Guide, you may refer to the Recipes section of the Interac Developer Portal for code samples.
Updated 3 months ago