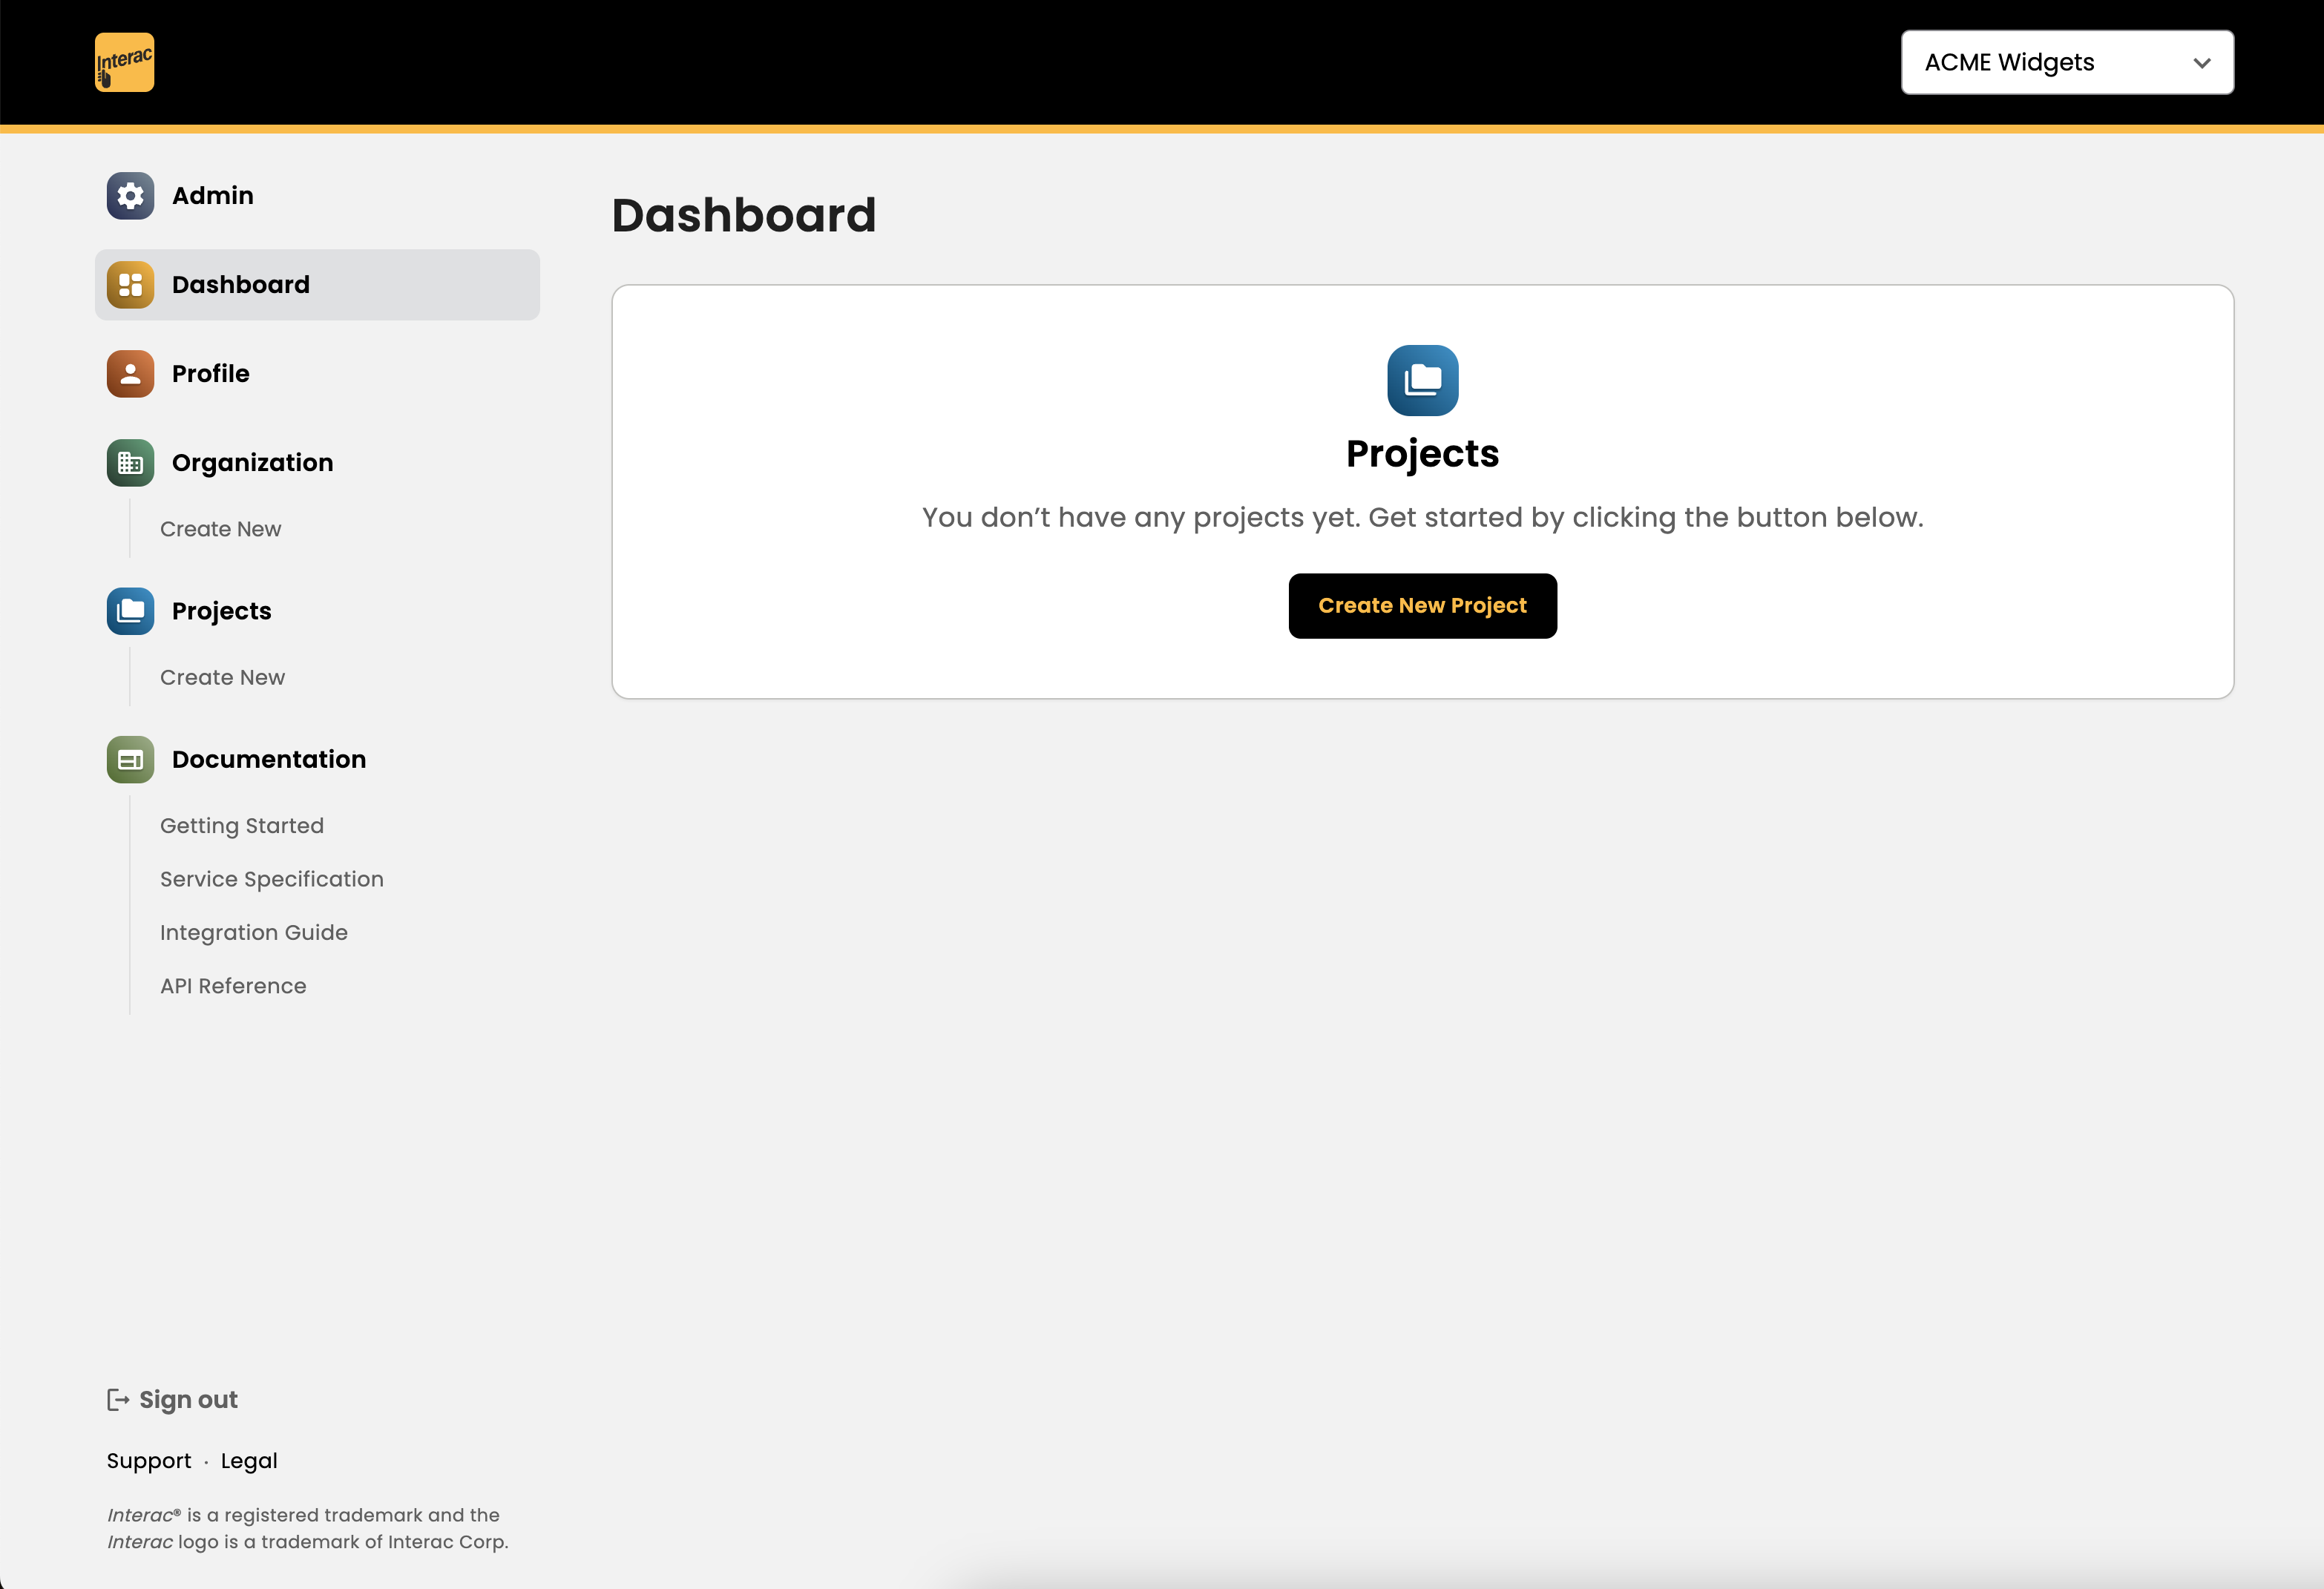
Creating a Project
After creating an Organization, your next step is to create a Project.
A Project creates a new client ID on the Interac Hub and contains all OpenID Connect configuration including client ID and scope names, scope definitions, user flows, and user claims returned by the Hub API.
The client ID represents a unique client identifier and confirms with the definition in the OAuth 2.0 / OpenID Connect (OIDC) standards. This is a unique string which will be used to make calls to the Interac Hub API.
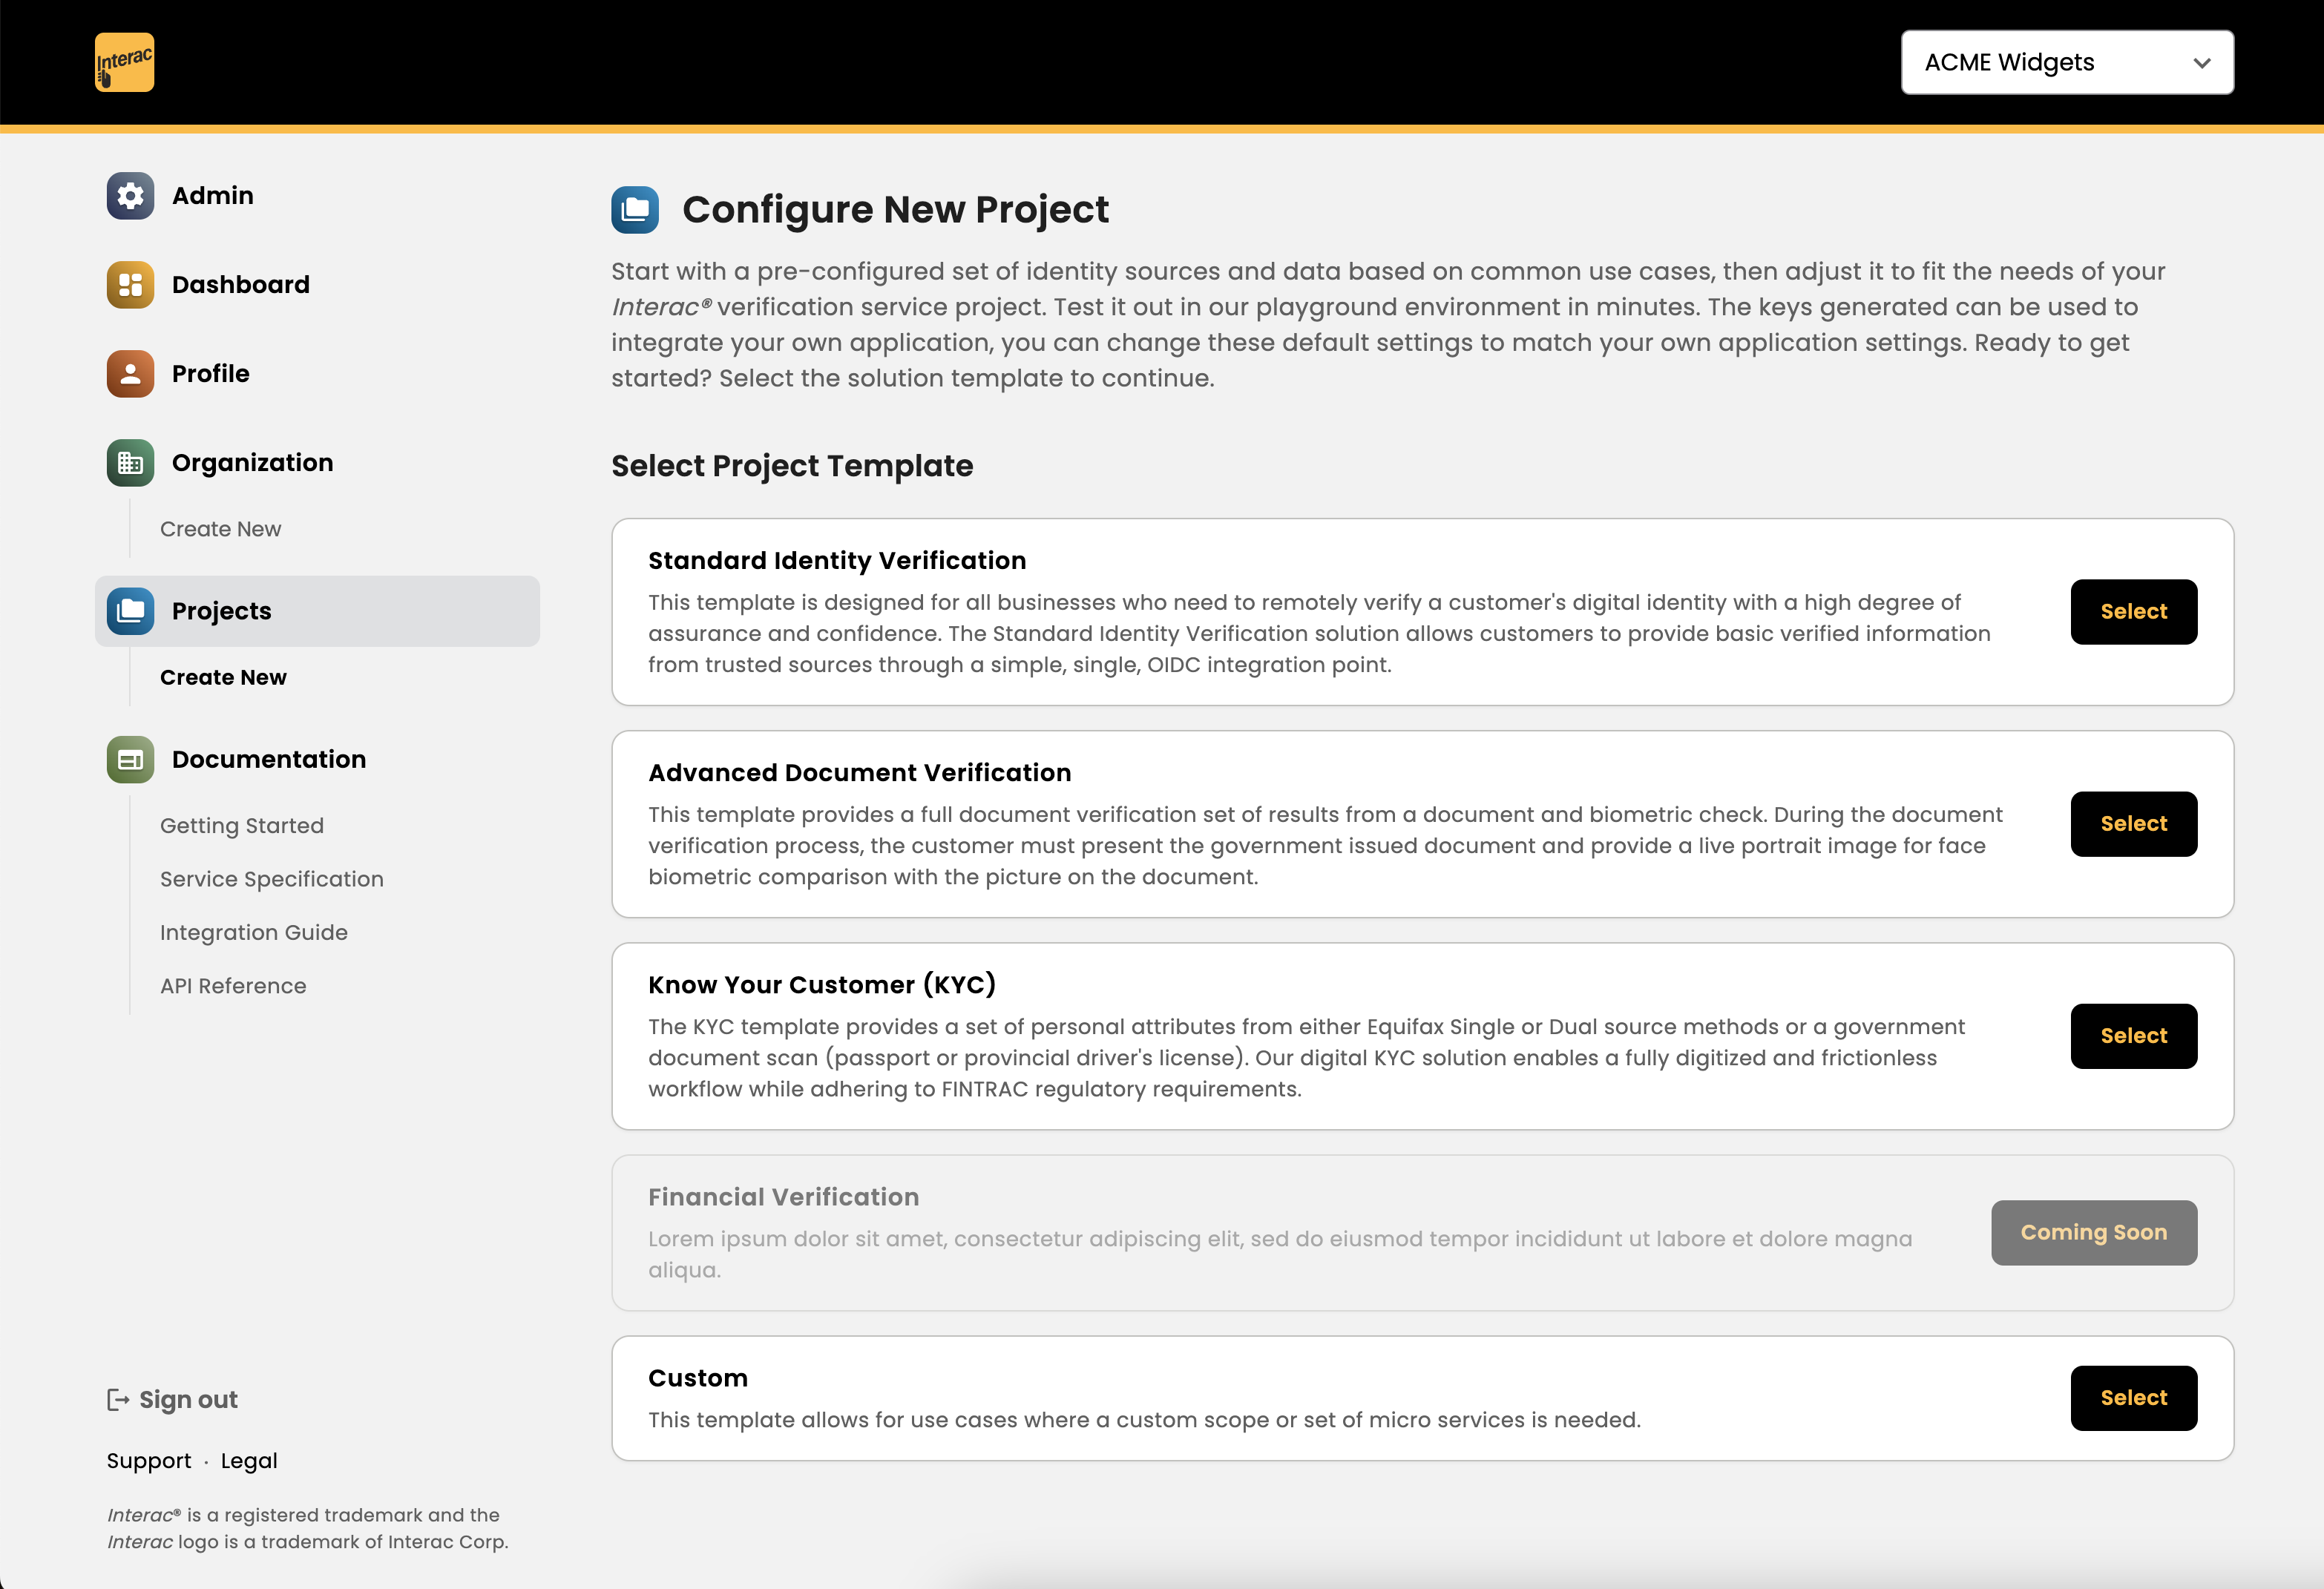
Configure New Project
There are a number of premade templates which limit and simplify the setup of a project to certain predefined flows (Interac Verification Service and/or Interac Document Verification Service) and user claims available (e.g. financial institution user claims, credit bureau user claims, government document verification claims, etc.).
- Standard Identity Verification: Permits IVS and/or IDVS flows for financial institution verification and/or government document verification
- Advanced Document Verification: Permits IDVS flow only for government document verification
- Know Your Customer (KYC): Permits IVS (financial institution verification with credit bureau user claims only) or IDVS
- Custom: The most flexible option allowing full customization of the project including all available flows (IVS and/or IDVS) and all user claims bundles. Select this one if you're not sure what you need and follow the configuration settings available.
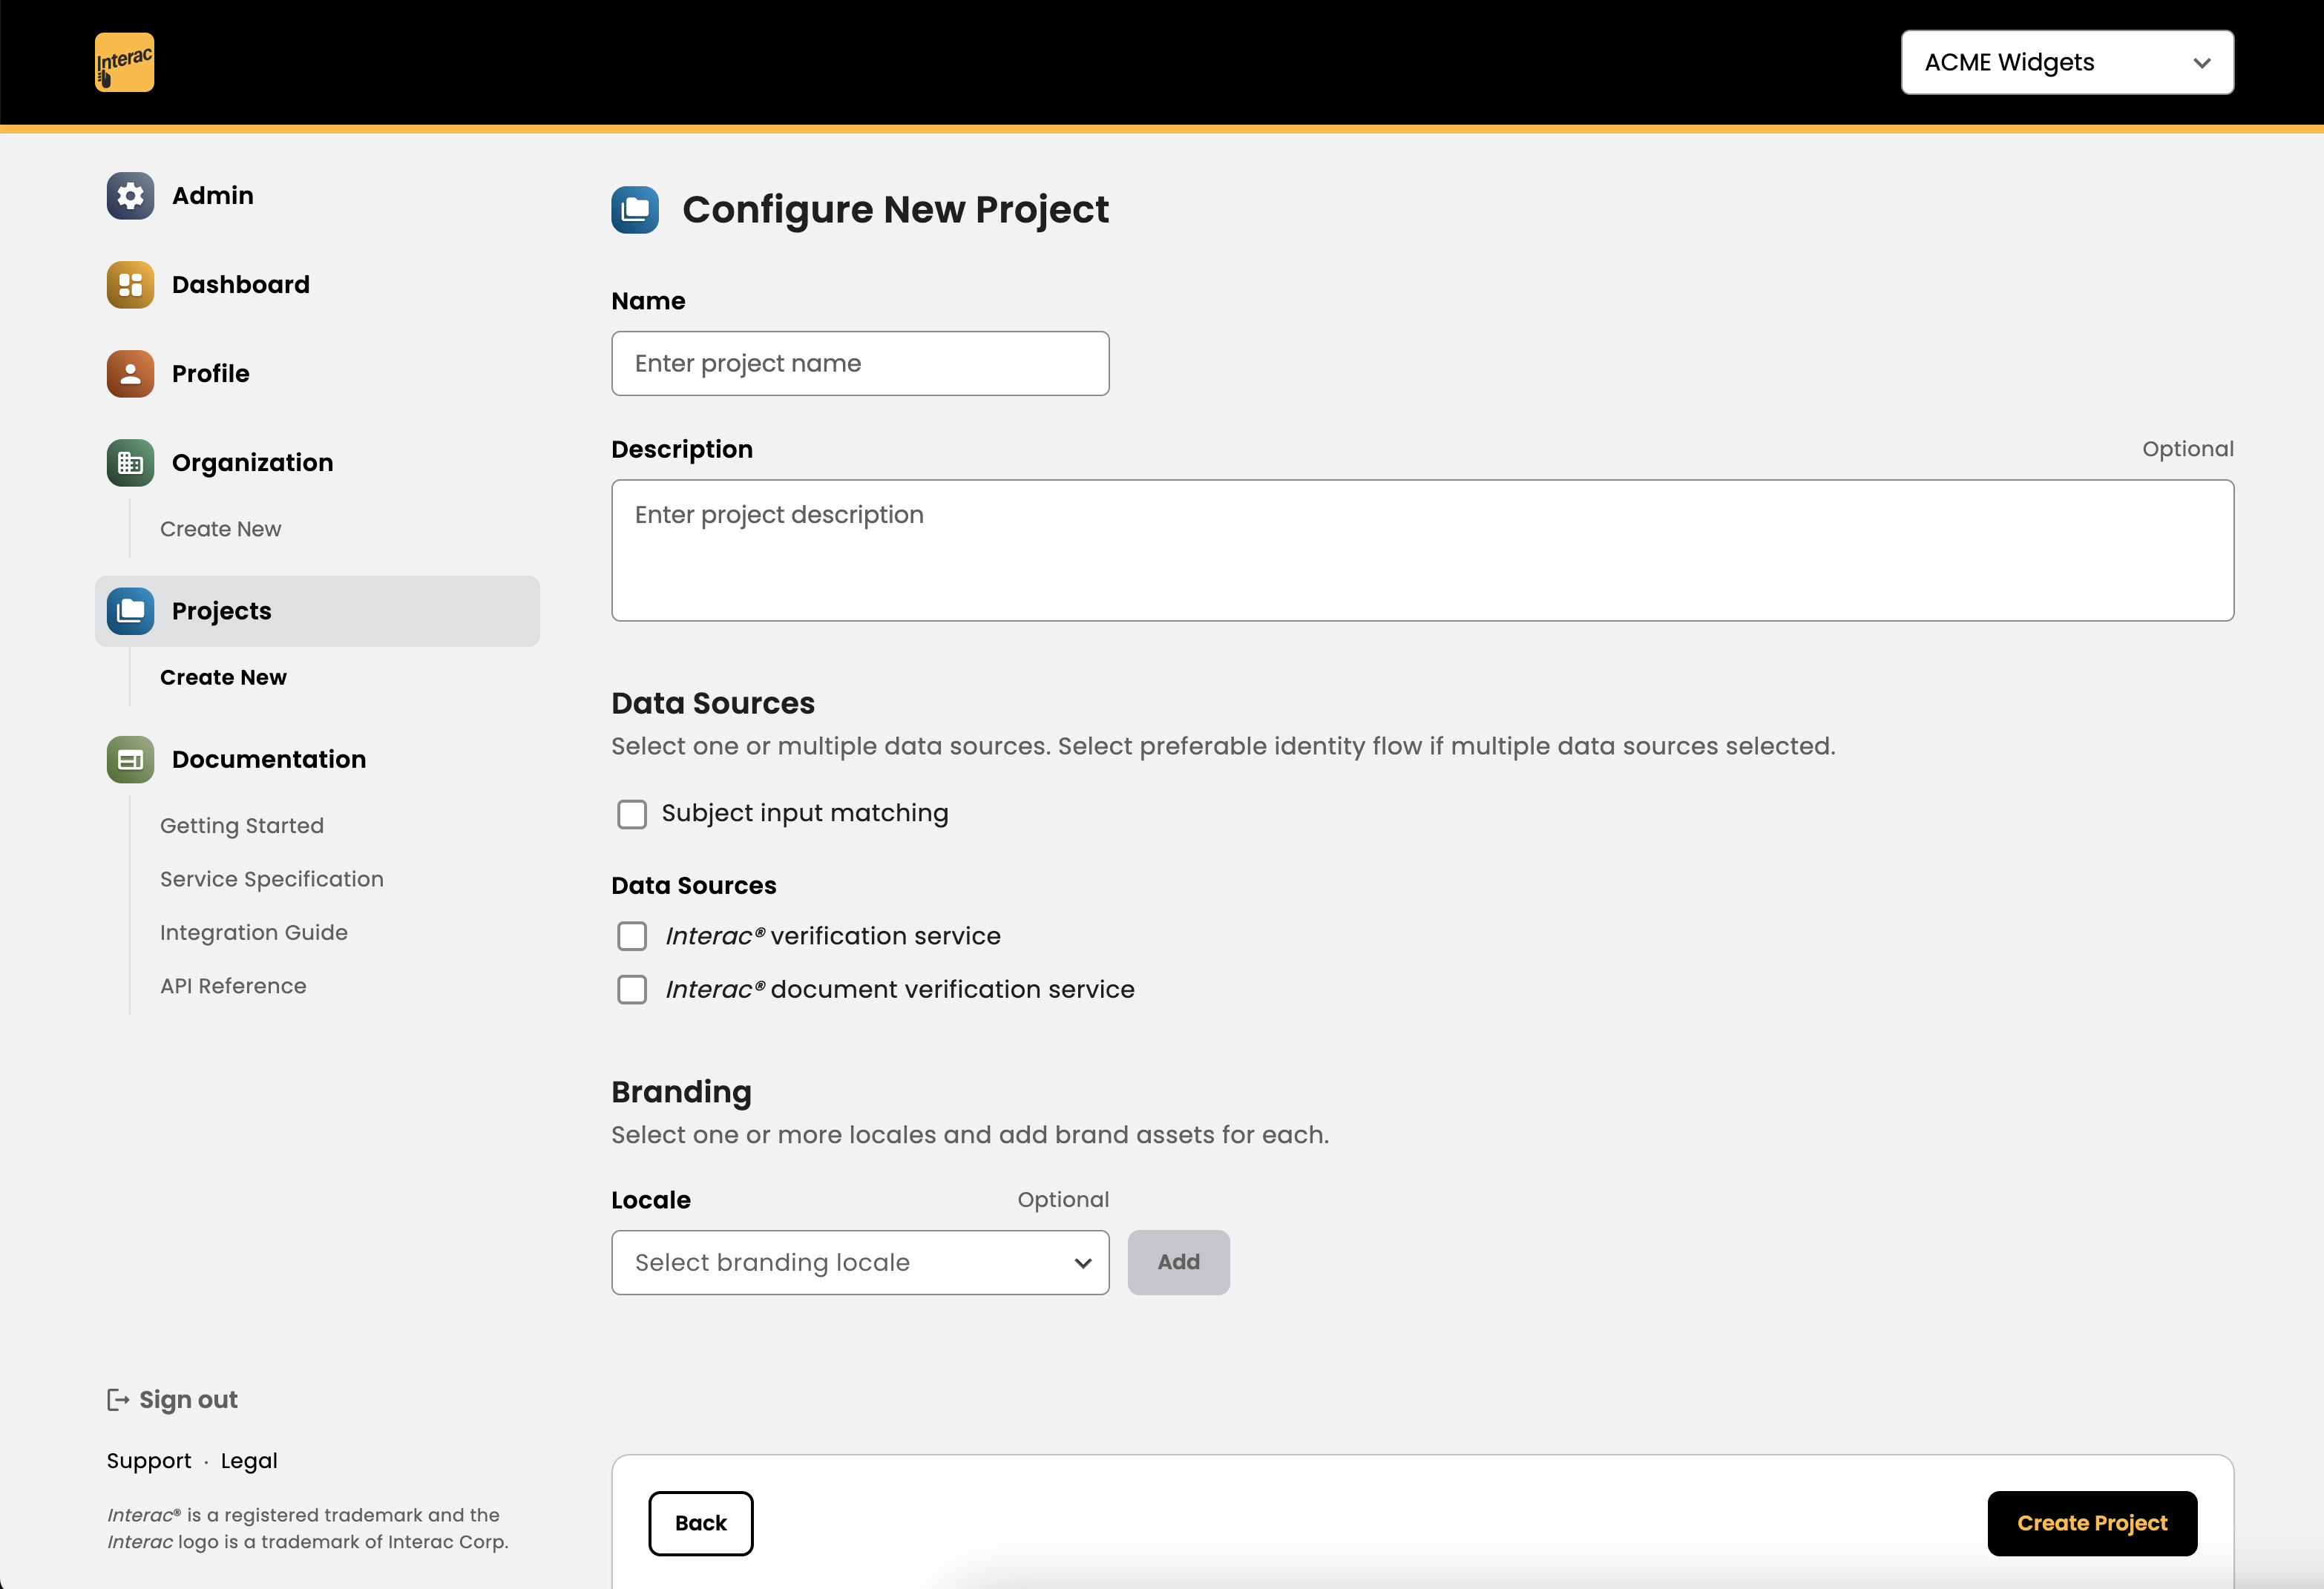
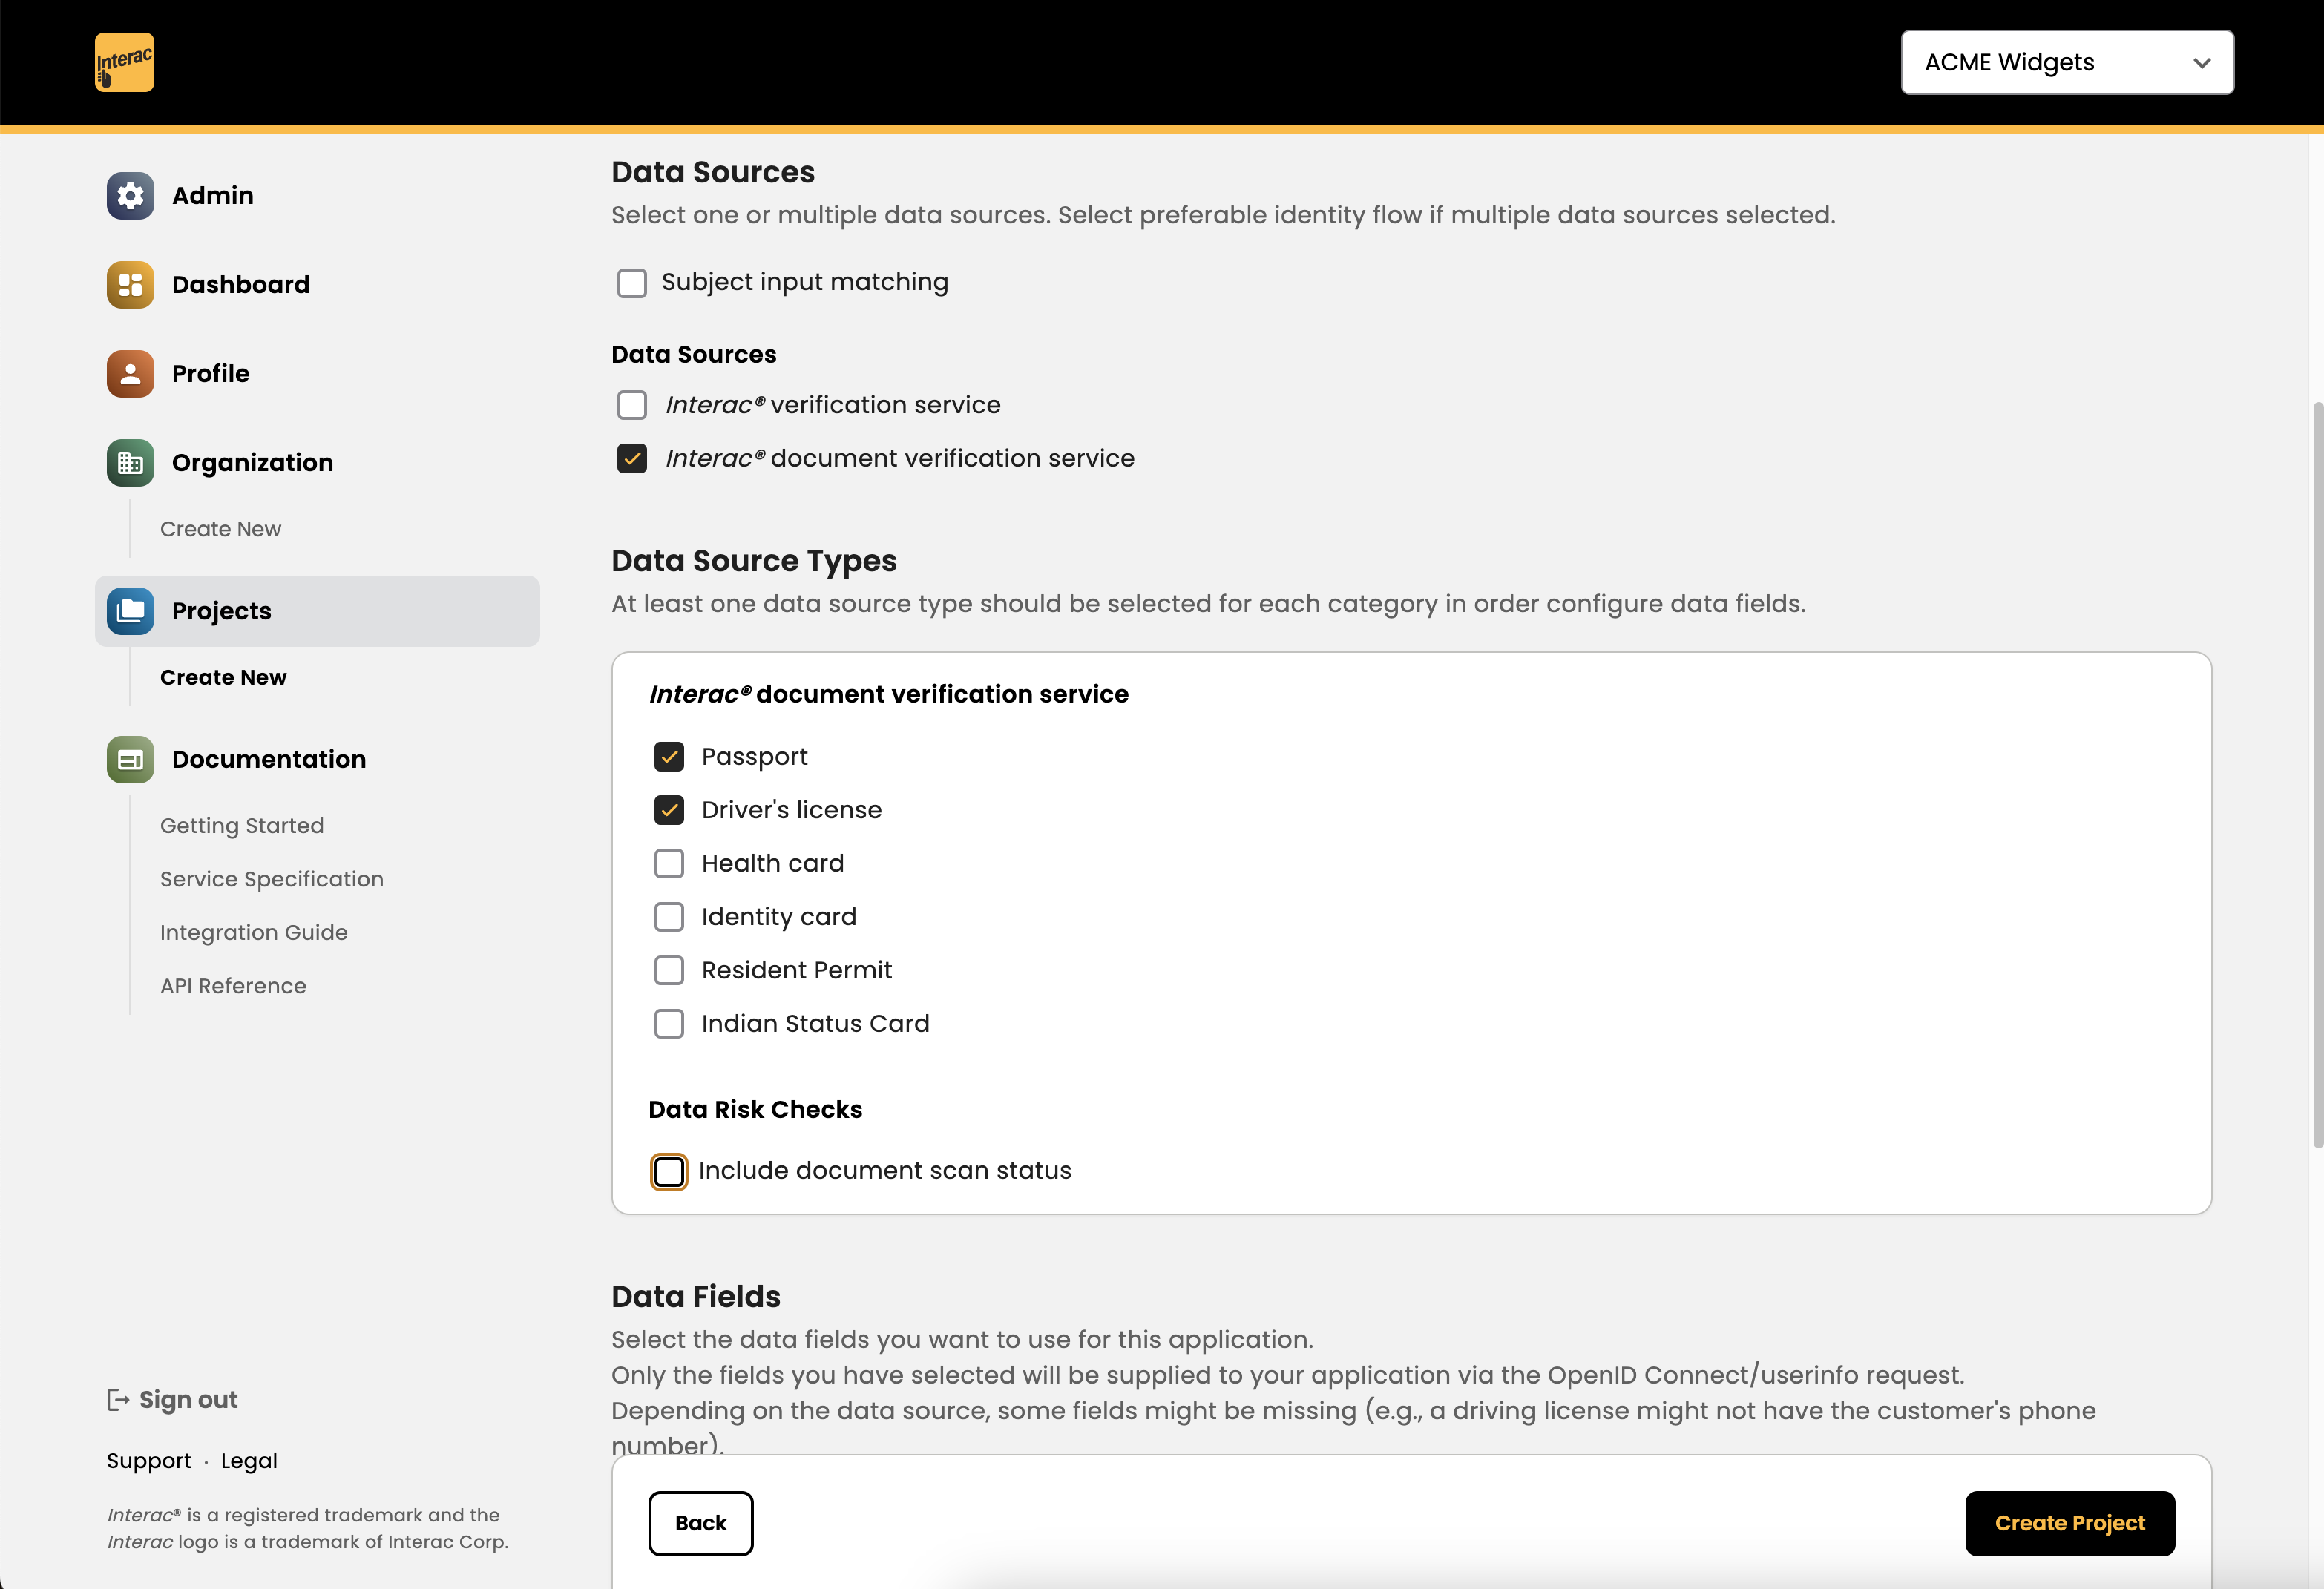
Data Sources
Once the template has been selected, you will be able to select from one or more data sources depending on the template chosen.
- Interac verification service: This enables the user flow for ID verification through financial institution authentication. There will be a test financial institution called MyBank available for a test user to authenticate, along with test credentials available in the Developer Portal.
- Interac document verification service: This enables the user flow for government document and biometric live selfie verification. A series of test documents and selfies (in QR code format) will be made available in the Developer Portal.
- Subject input matching: This enables the ability for you, as the partner, to provide user PII data (e.g. Given Name, Family Name, Birthdate, etc.) to be matched against the data retrieved from the financial institution (via IVS) and/or government document verification (via IDVS). For technical integrations, this also enables the Pushed Authorization Request (PAR) for the underlying Hub API.
Interac verification service Configuration
For the IVS user flow, you can select data source types.
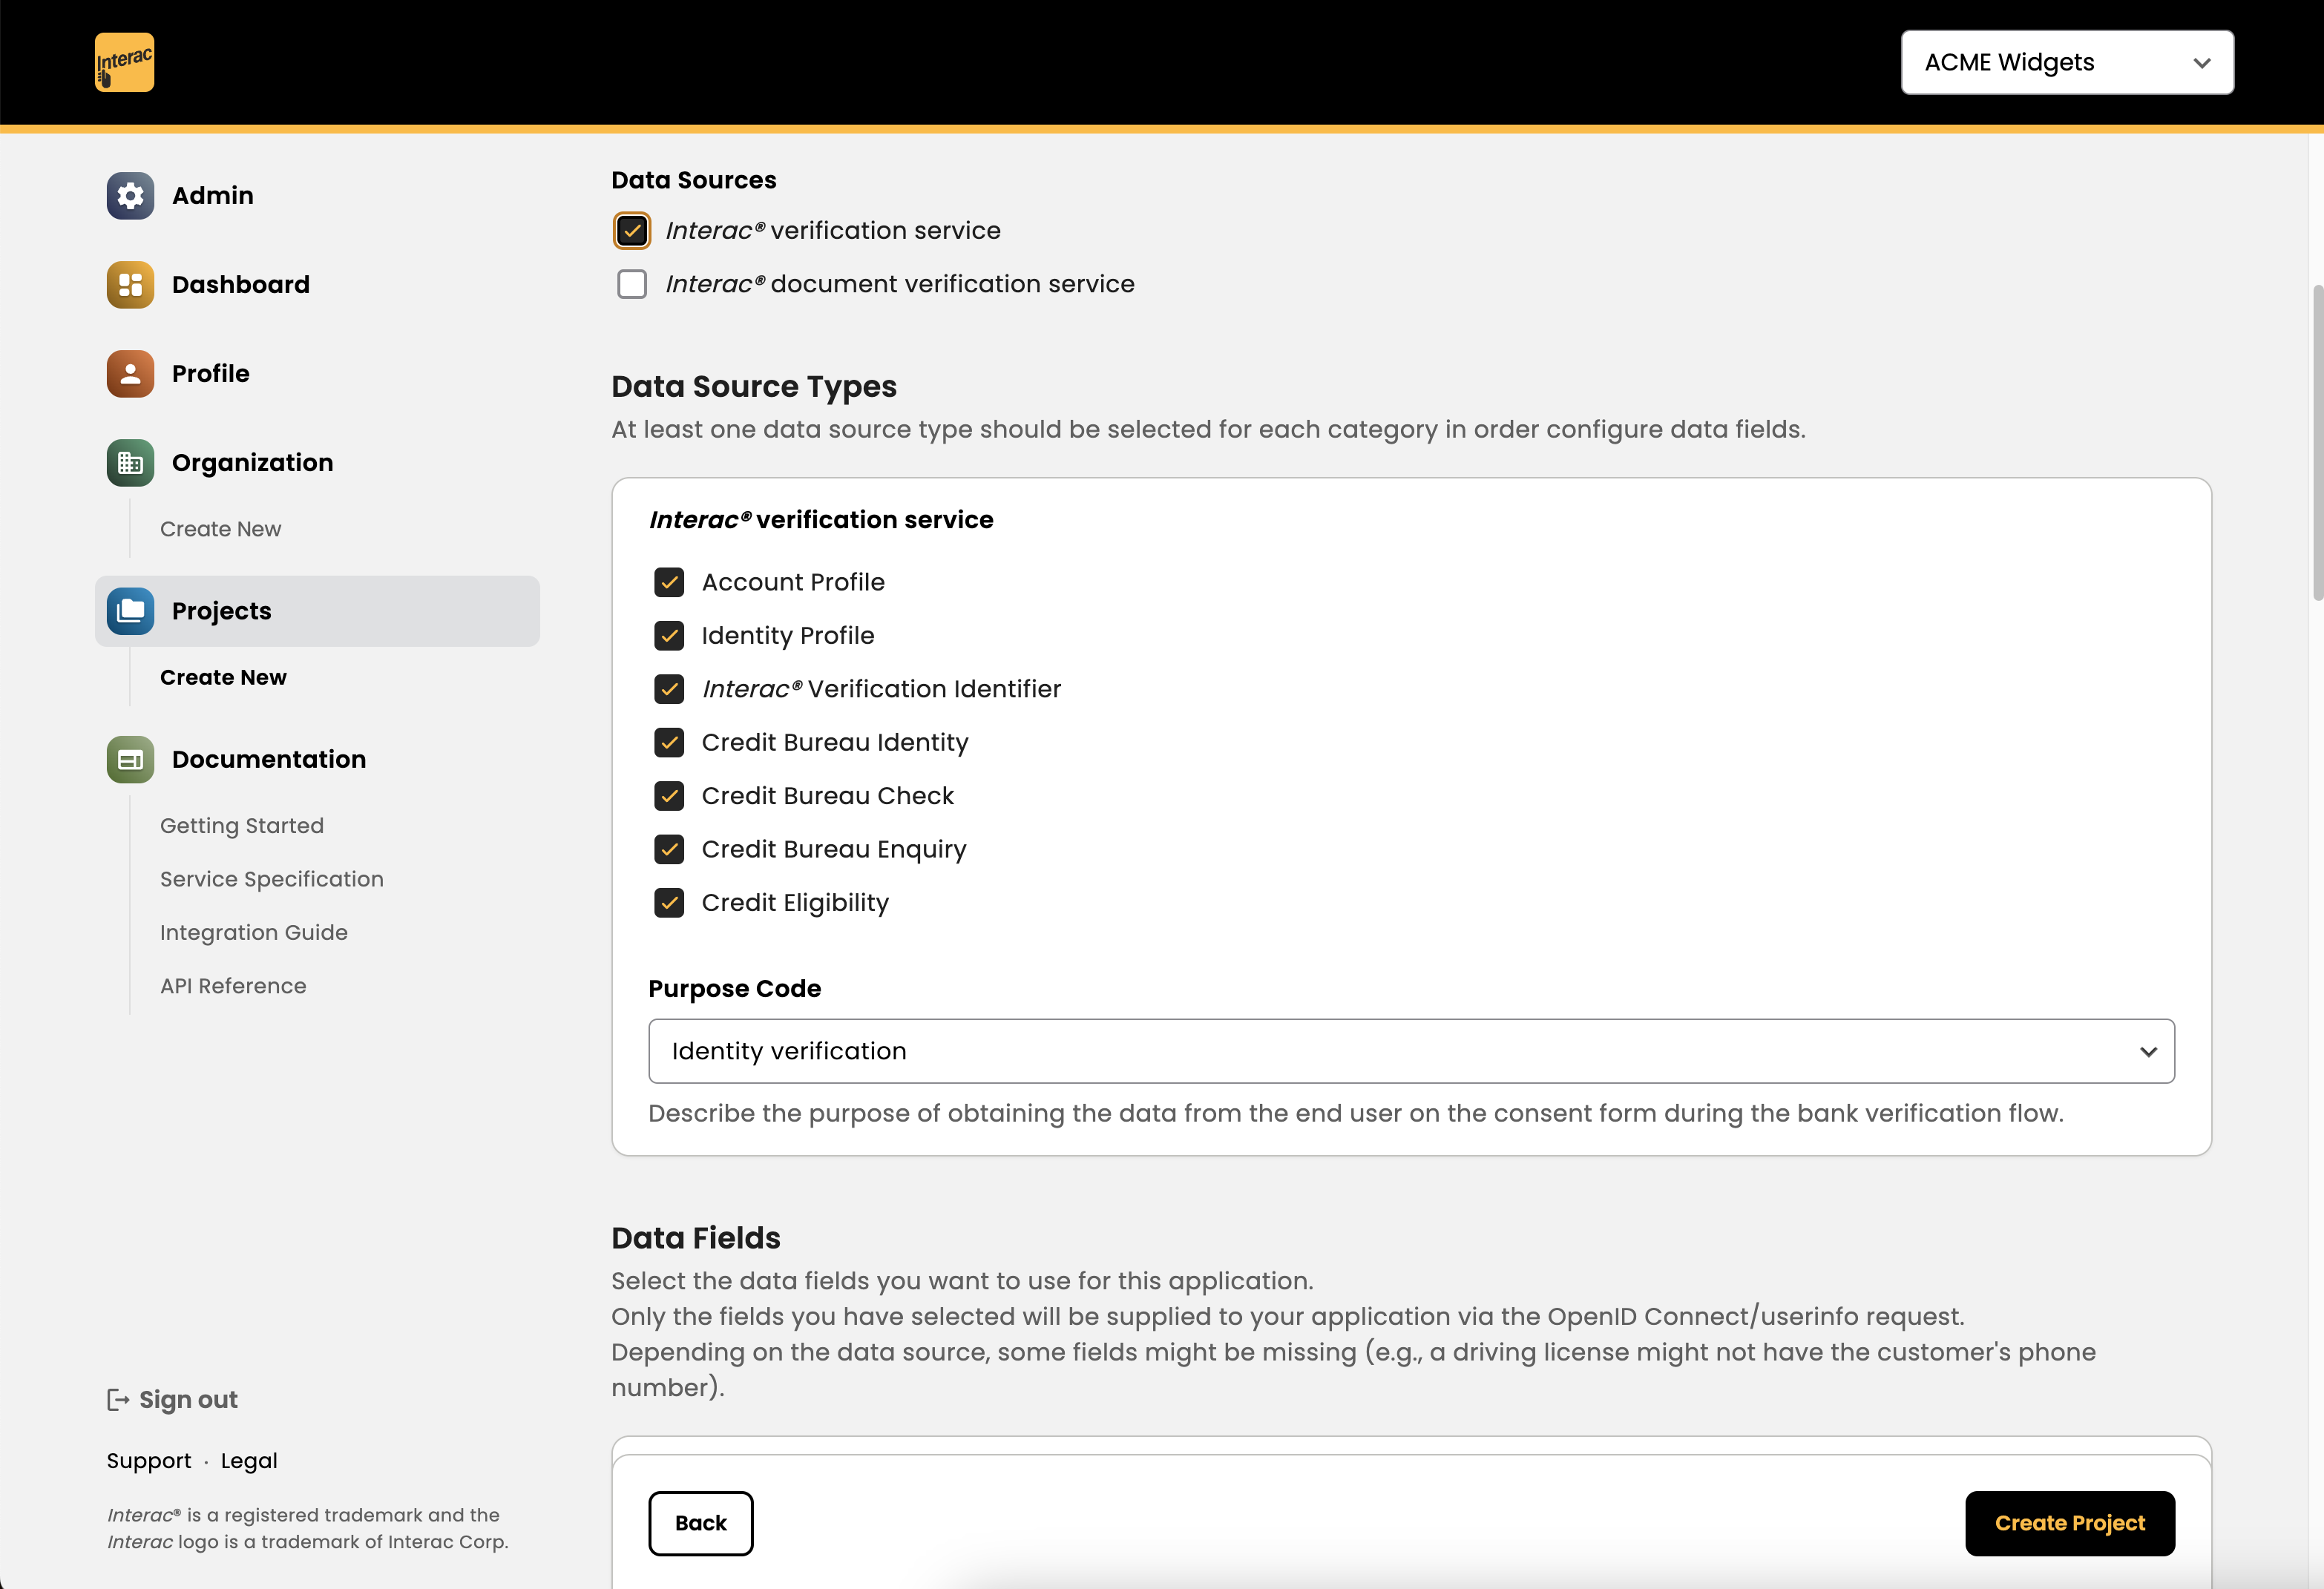
These data source types determine what data fields (i.e. user claims) are returned by the Hub API.
Interac document verification service Configuration
For the IDVS user flow, you can select the government documents accepted by the service for ID verification.
Test documents will be provided in the Developer Portal in subsequent screens in the form of scannable QR codes. Please do not use real government documents when running through these flows.
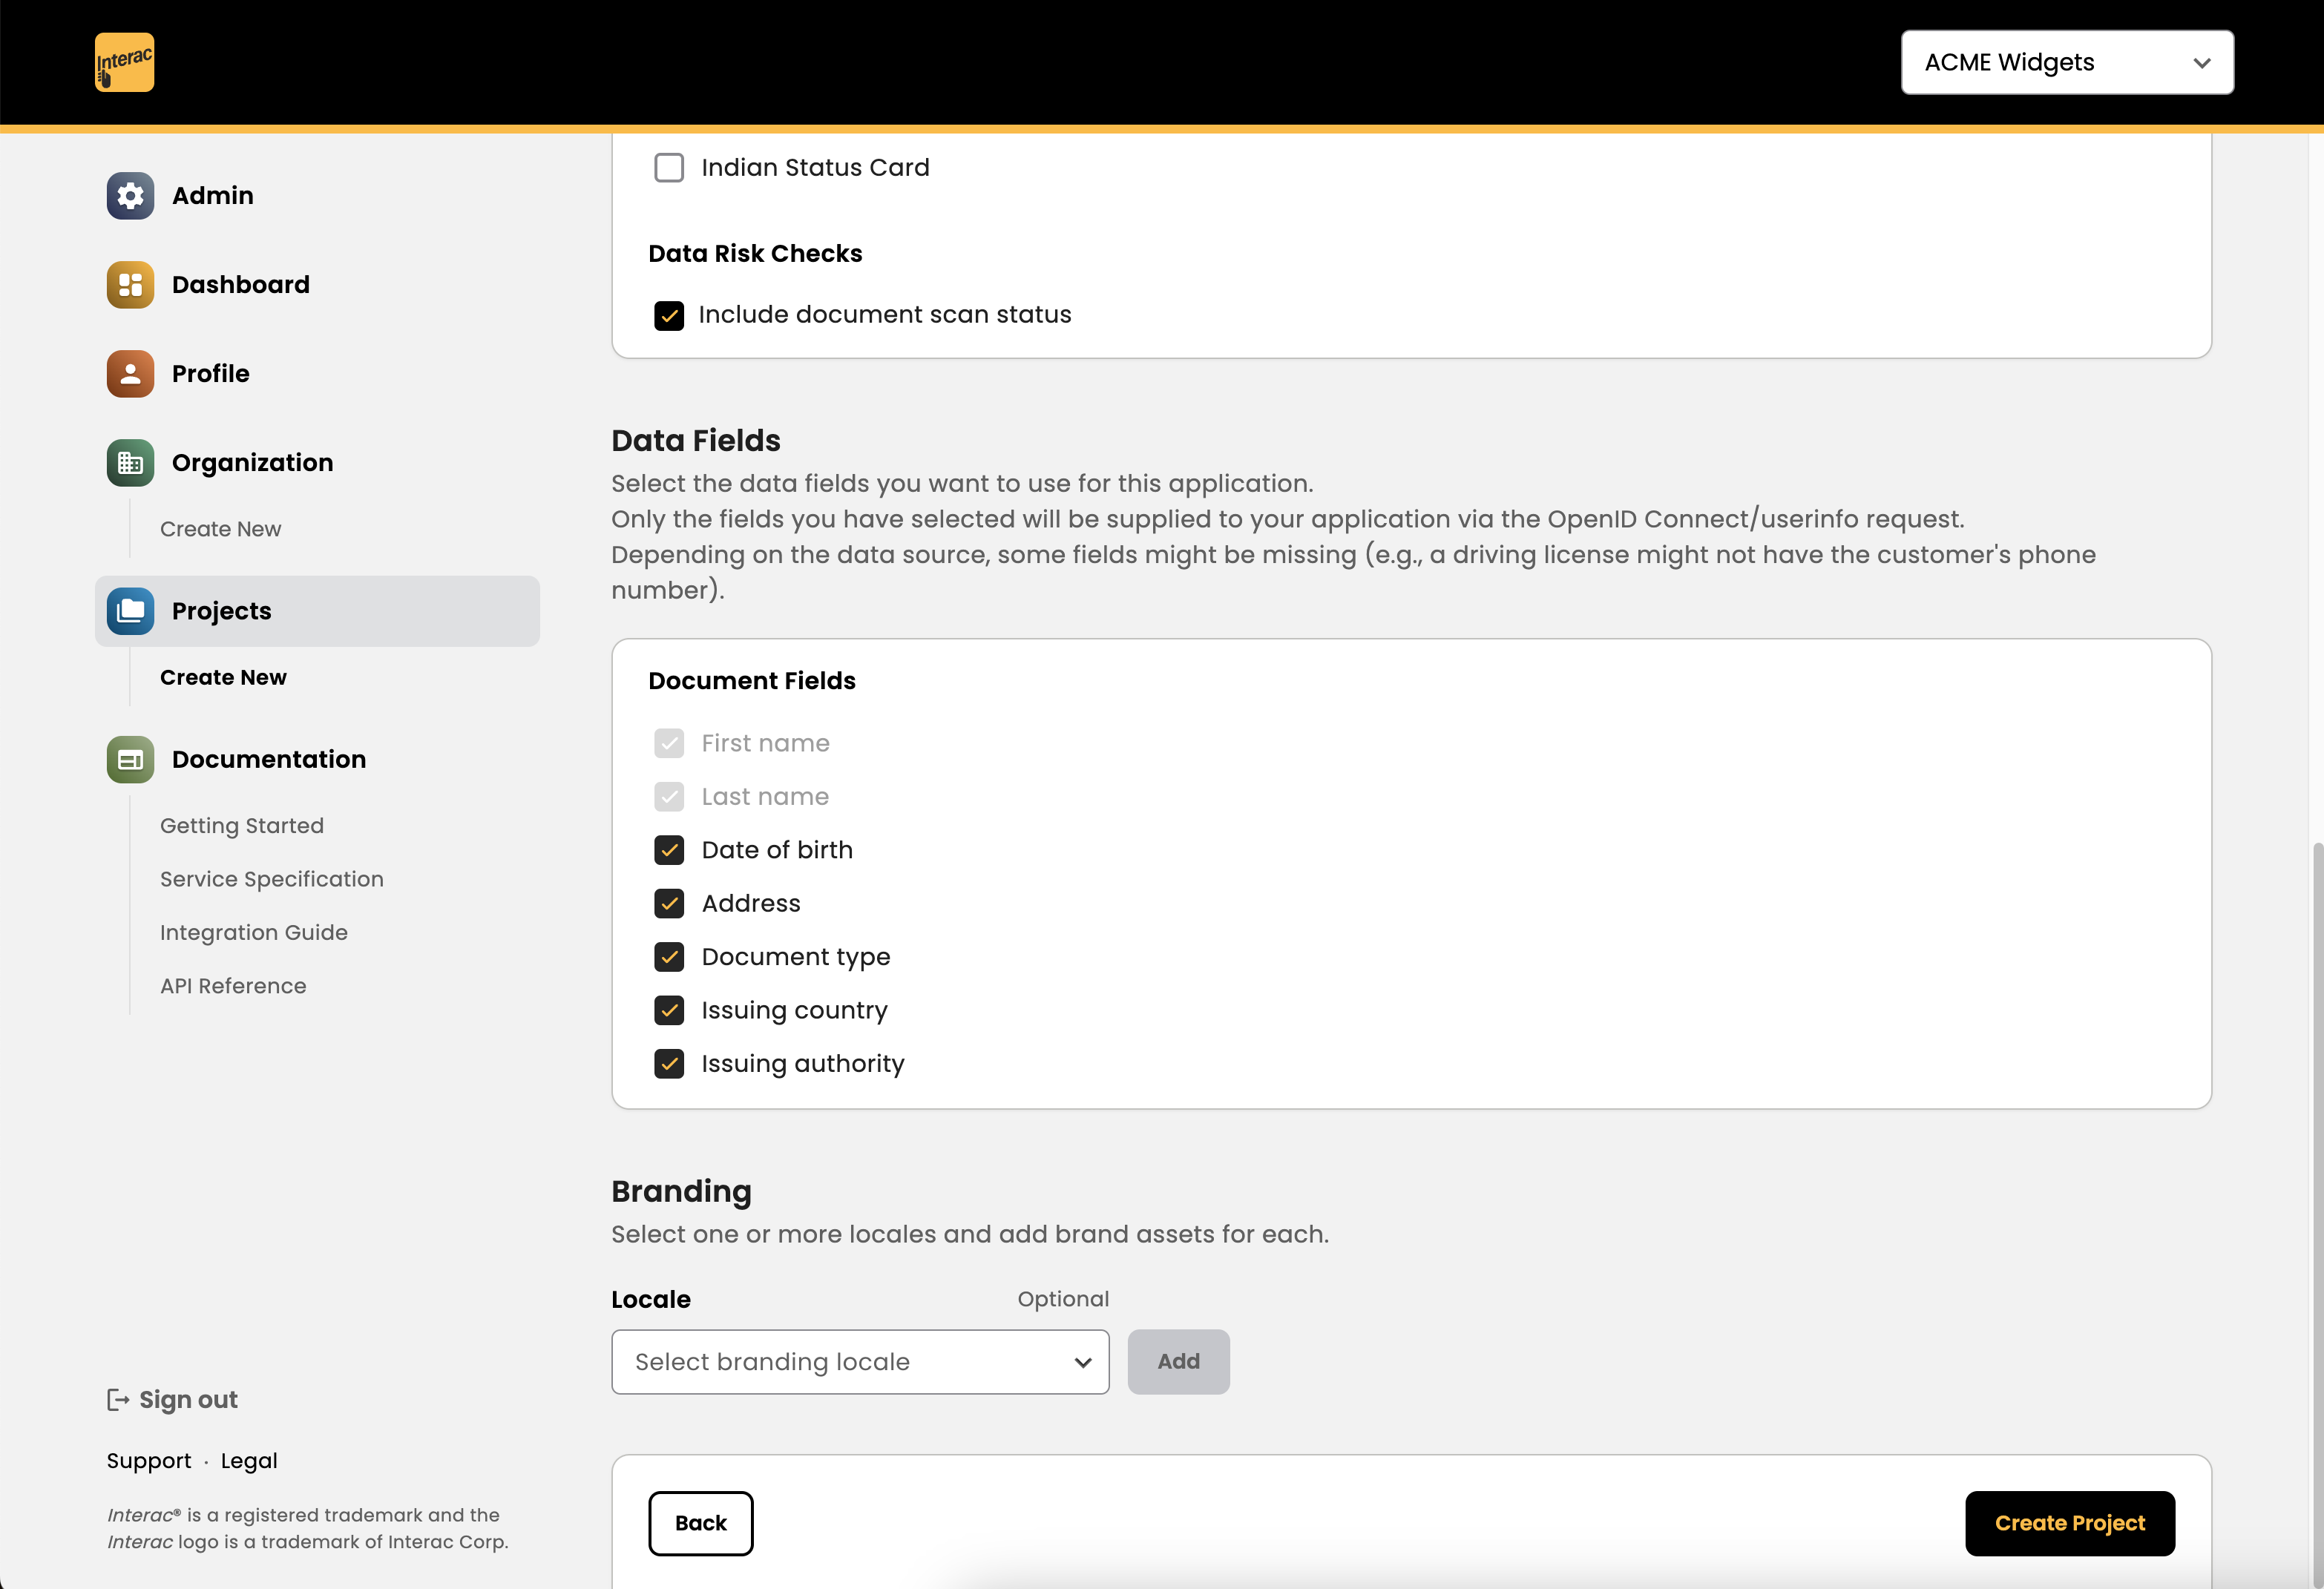
- Include document scan status: This flag enables the return of all user claims (i.e. government ID scanned attributes) for suspected and rejected documents. If this is disabled, suspected and rejected documents will only return an error to the integrating partner without any user claims.
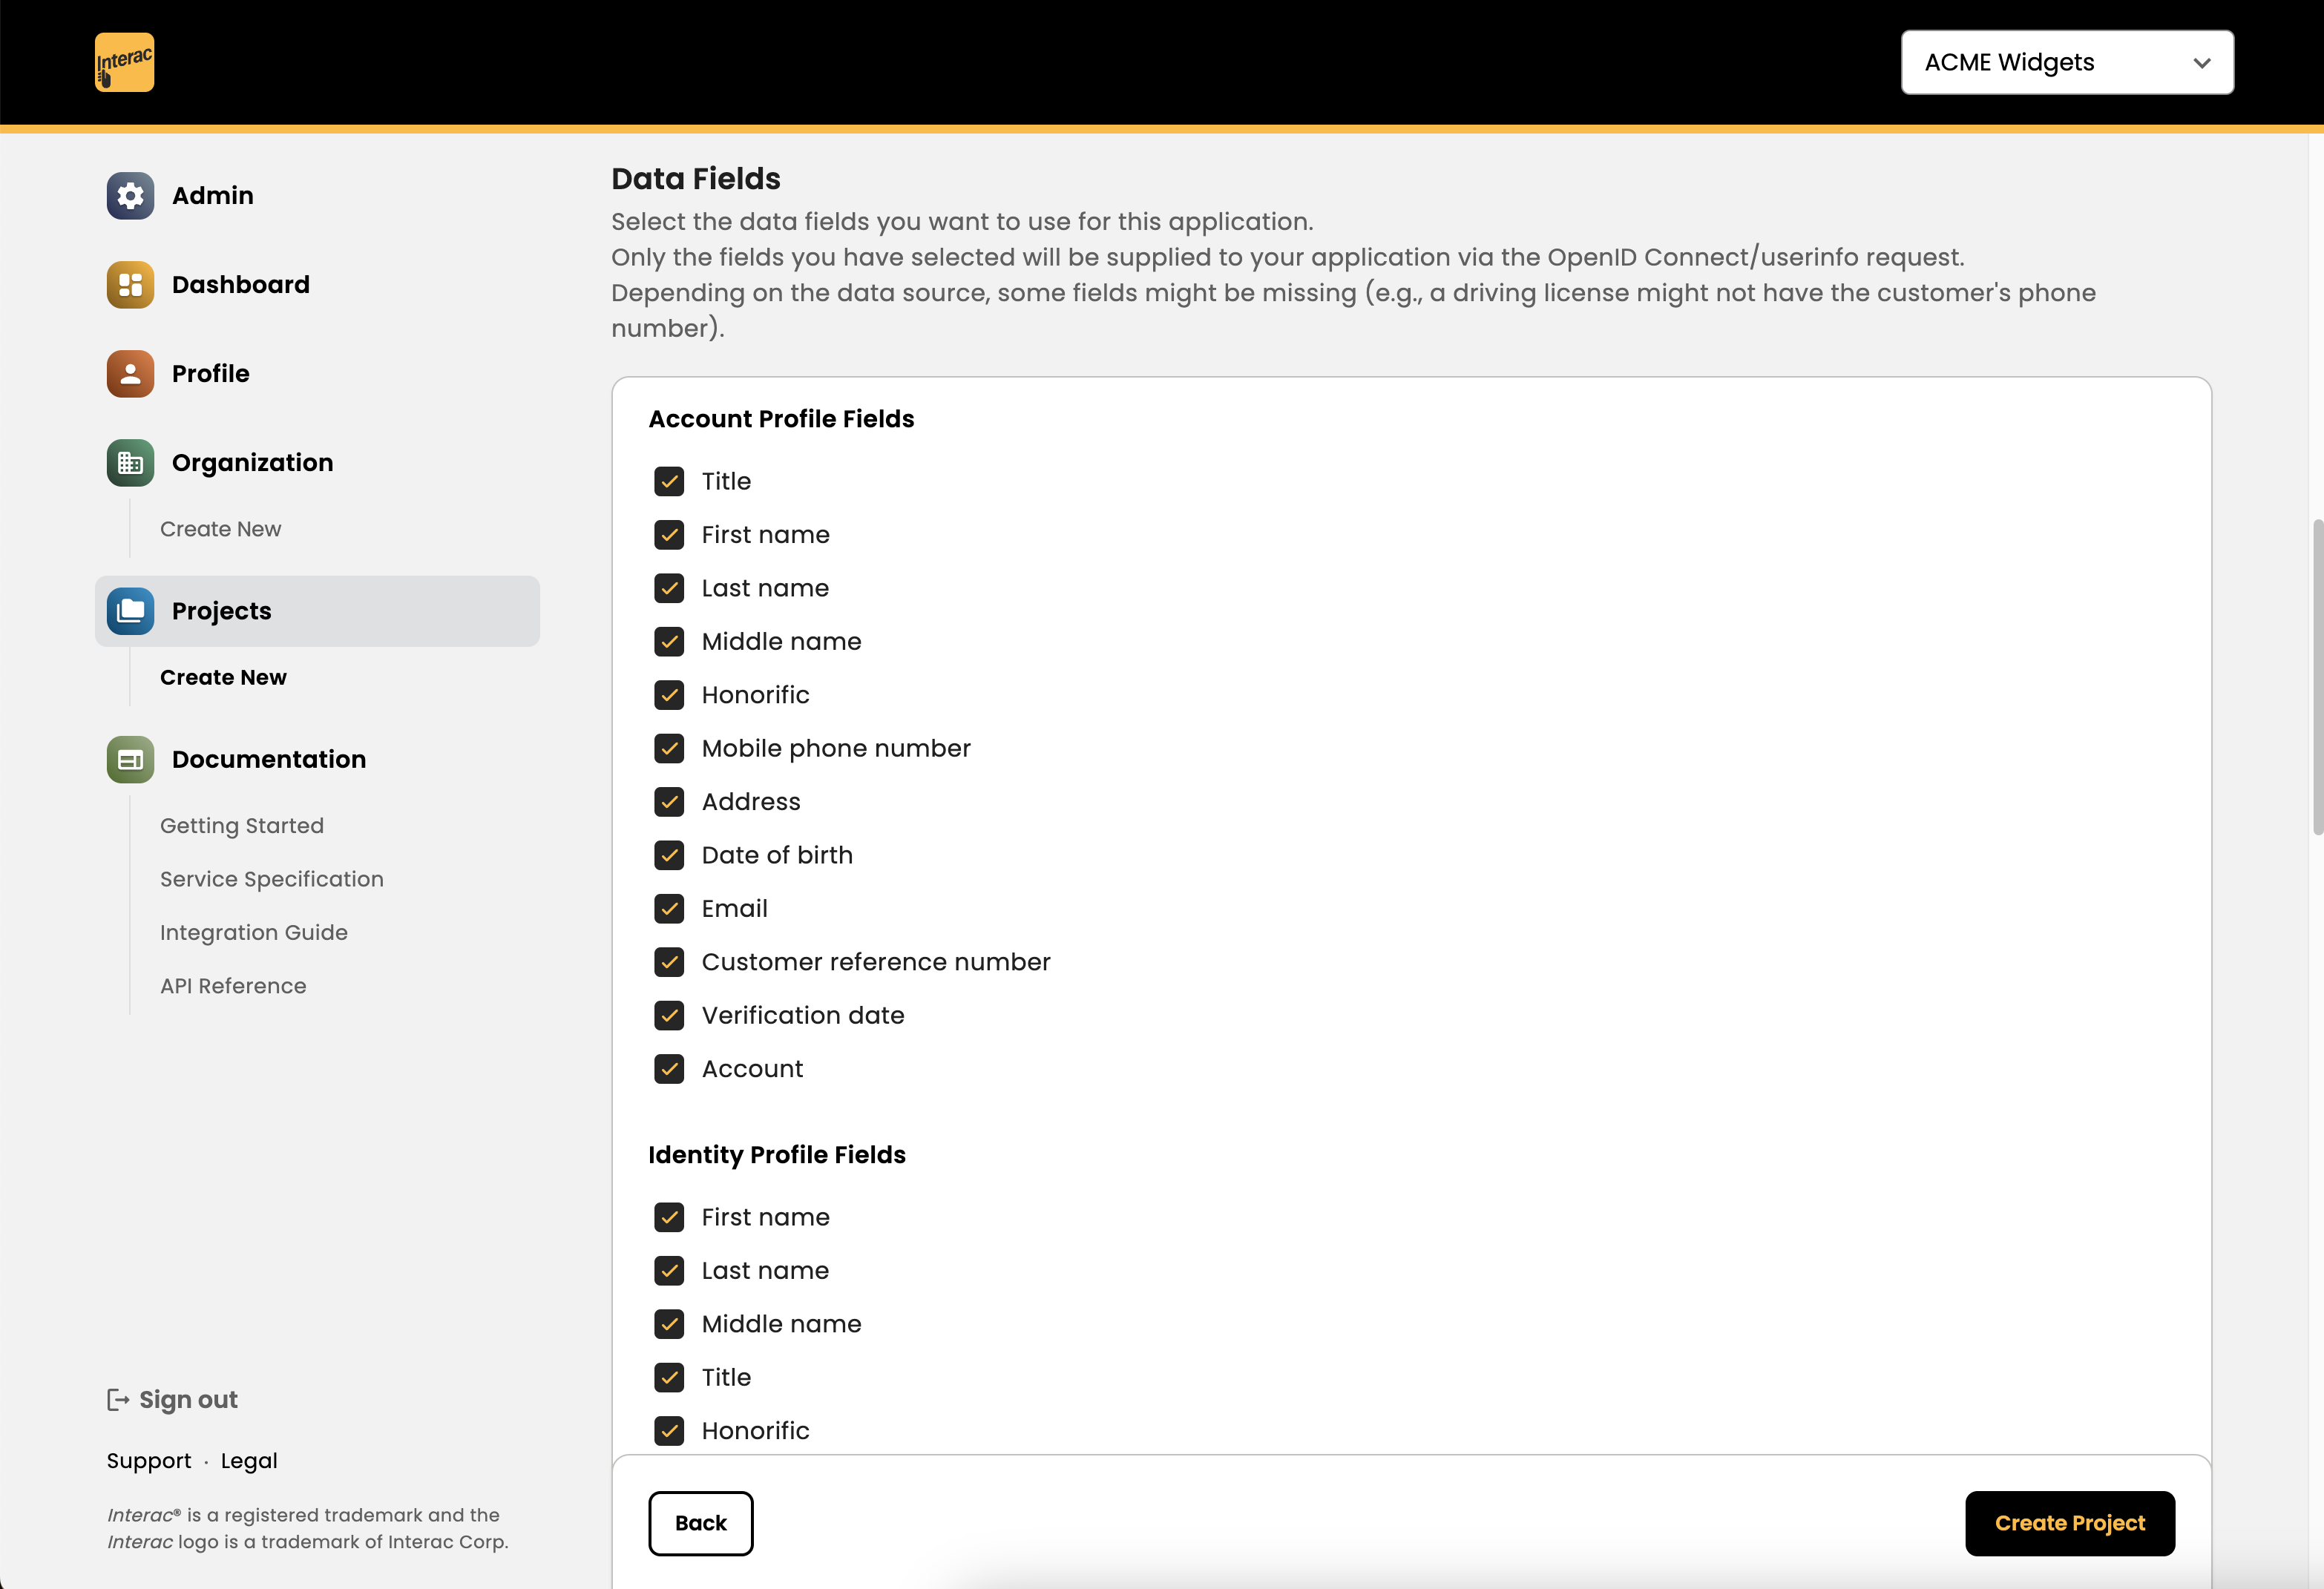
You can select which user claims (government document fields) to be returned by the Hub API.
The availability of these fields are the same across all documents. For fields which do not exist in certain documents (e.g. driver's license has no issuing country), the value returned for that specific field is "N/A".
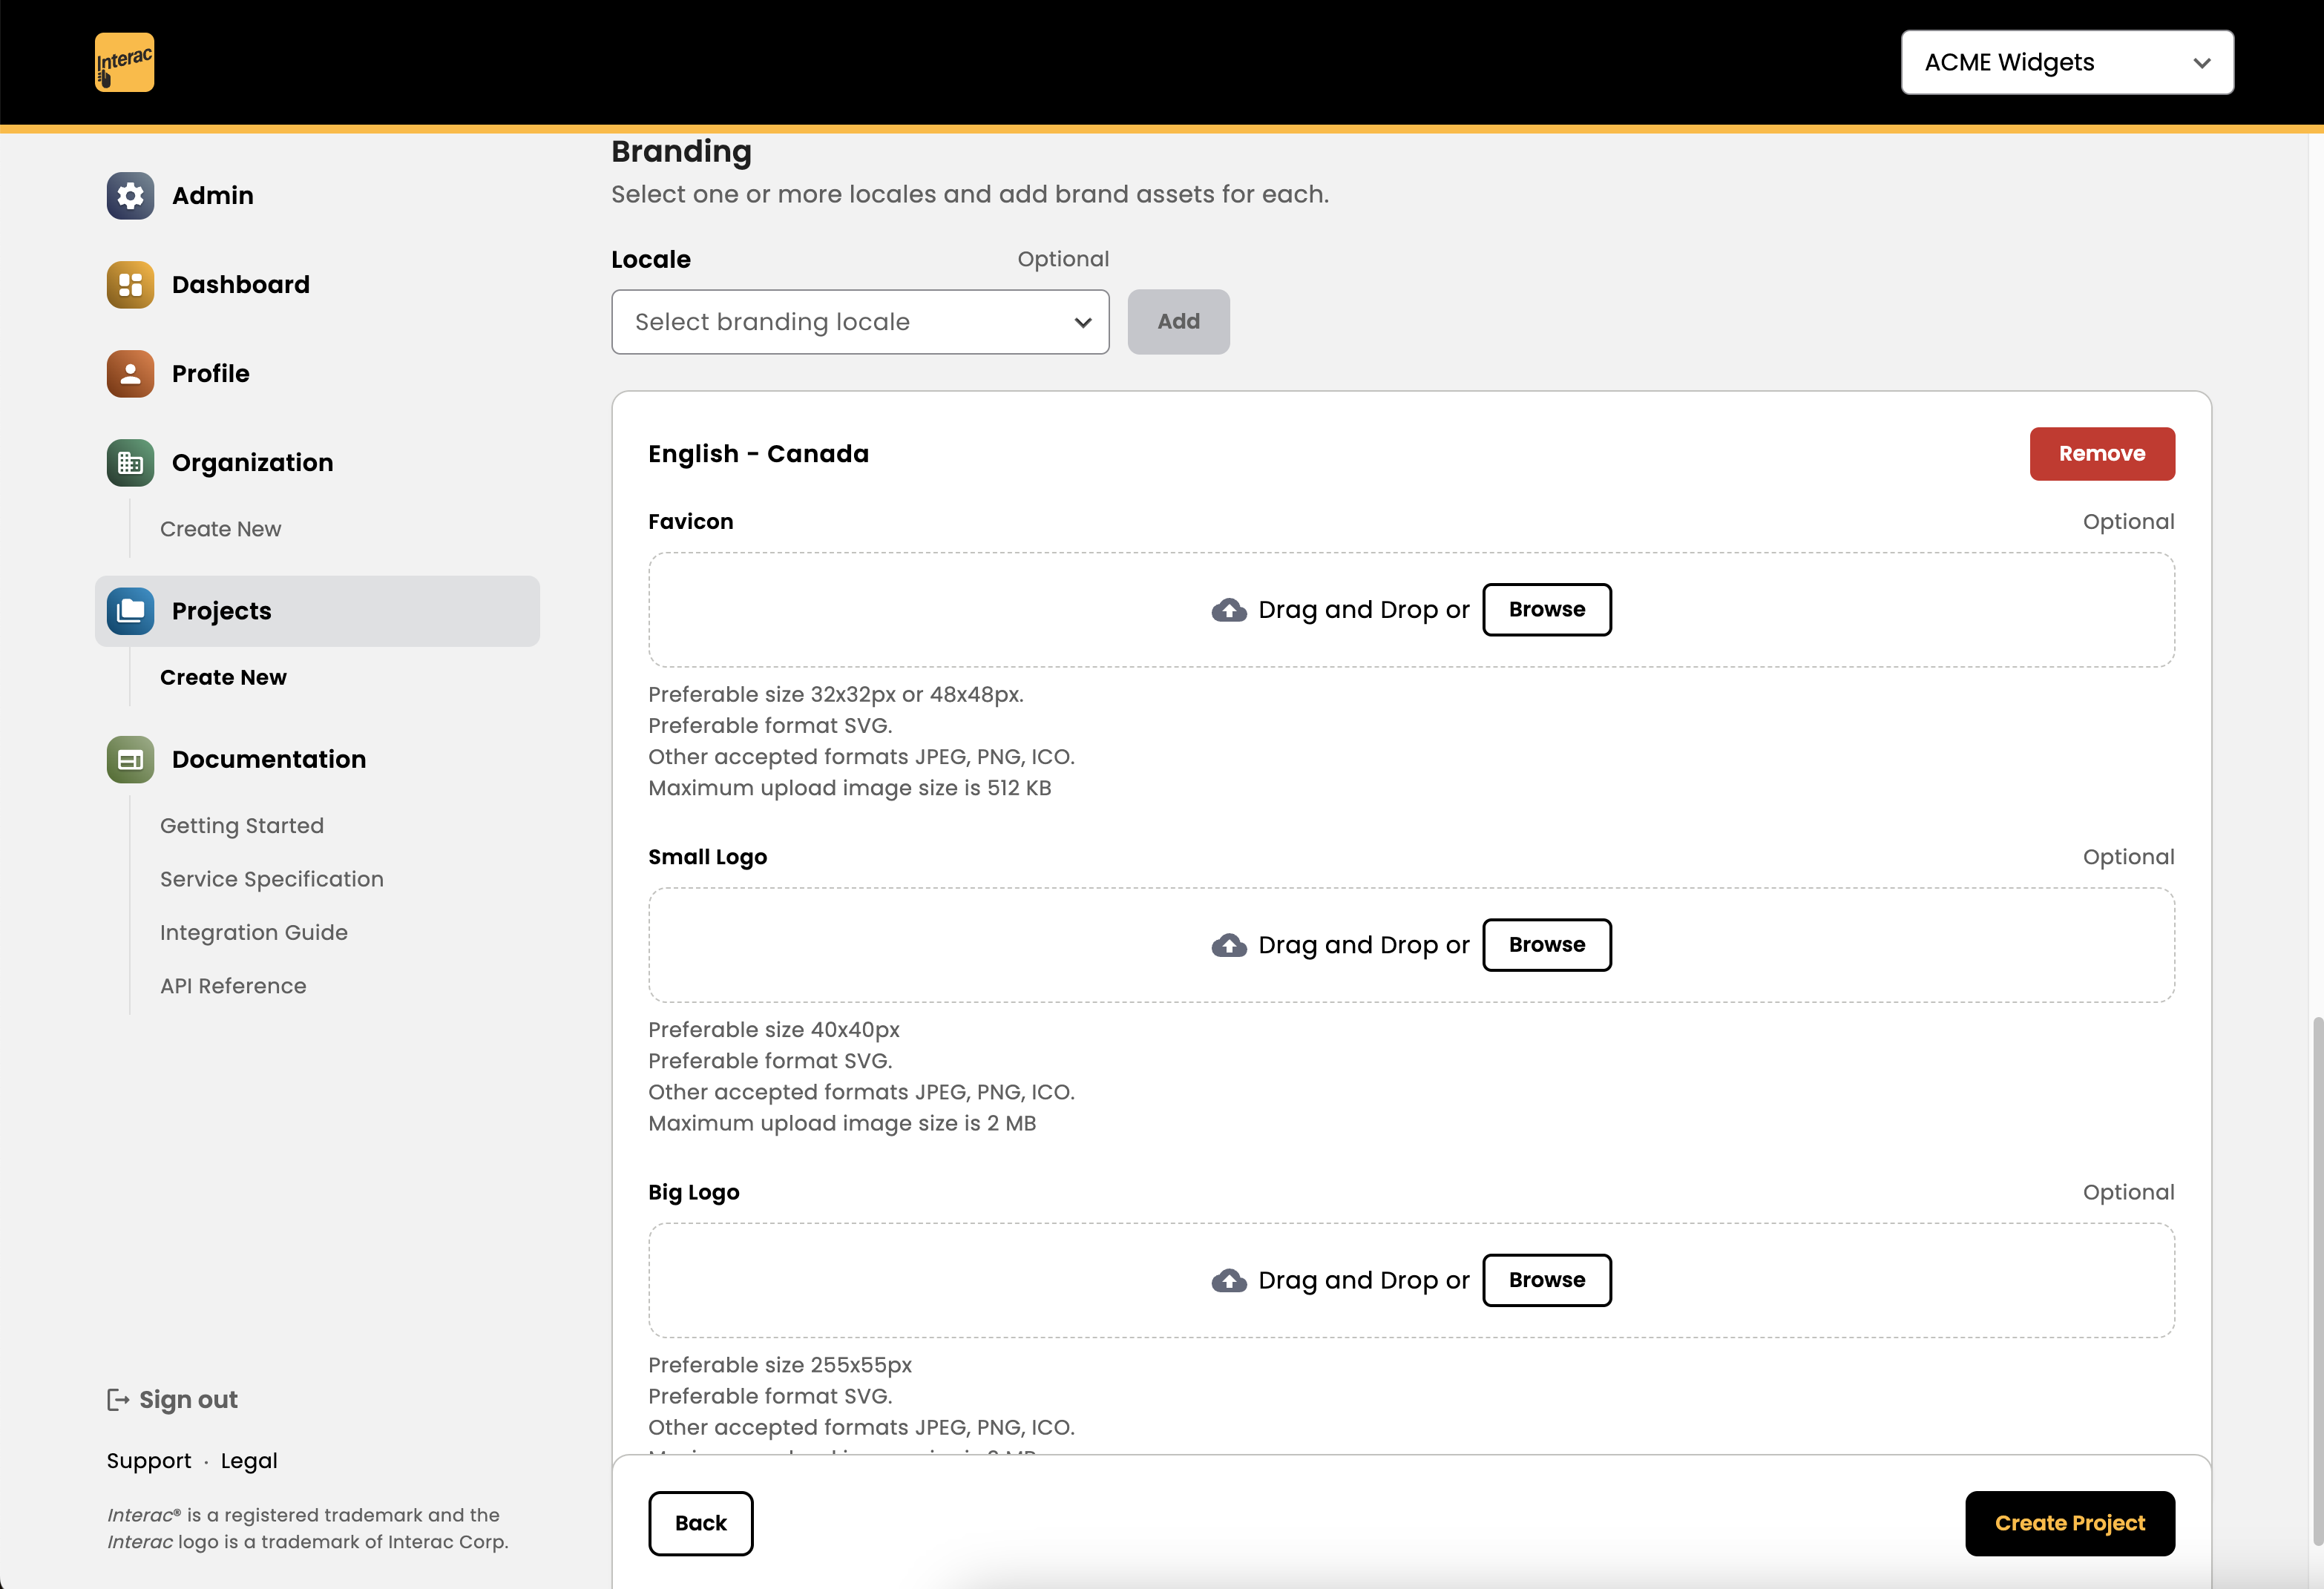
Branding
Custom logos for your company may be uploaded to be displayed on the Interac Hub user screens during ID verification.
You may skip this step and use default branding by clicking on the Create Project button to proceed.
Create Project
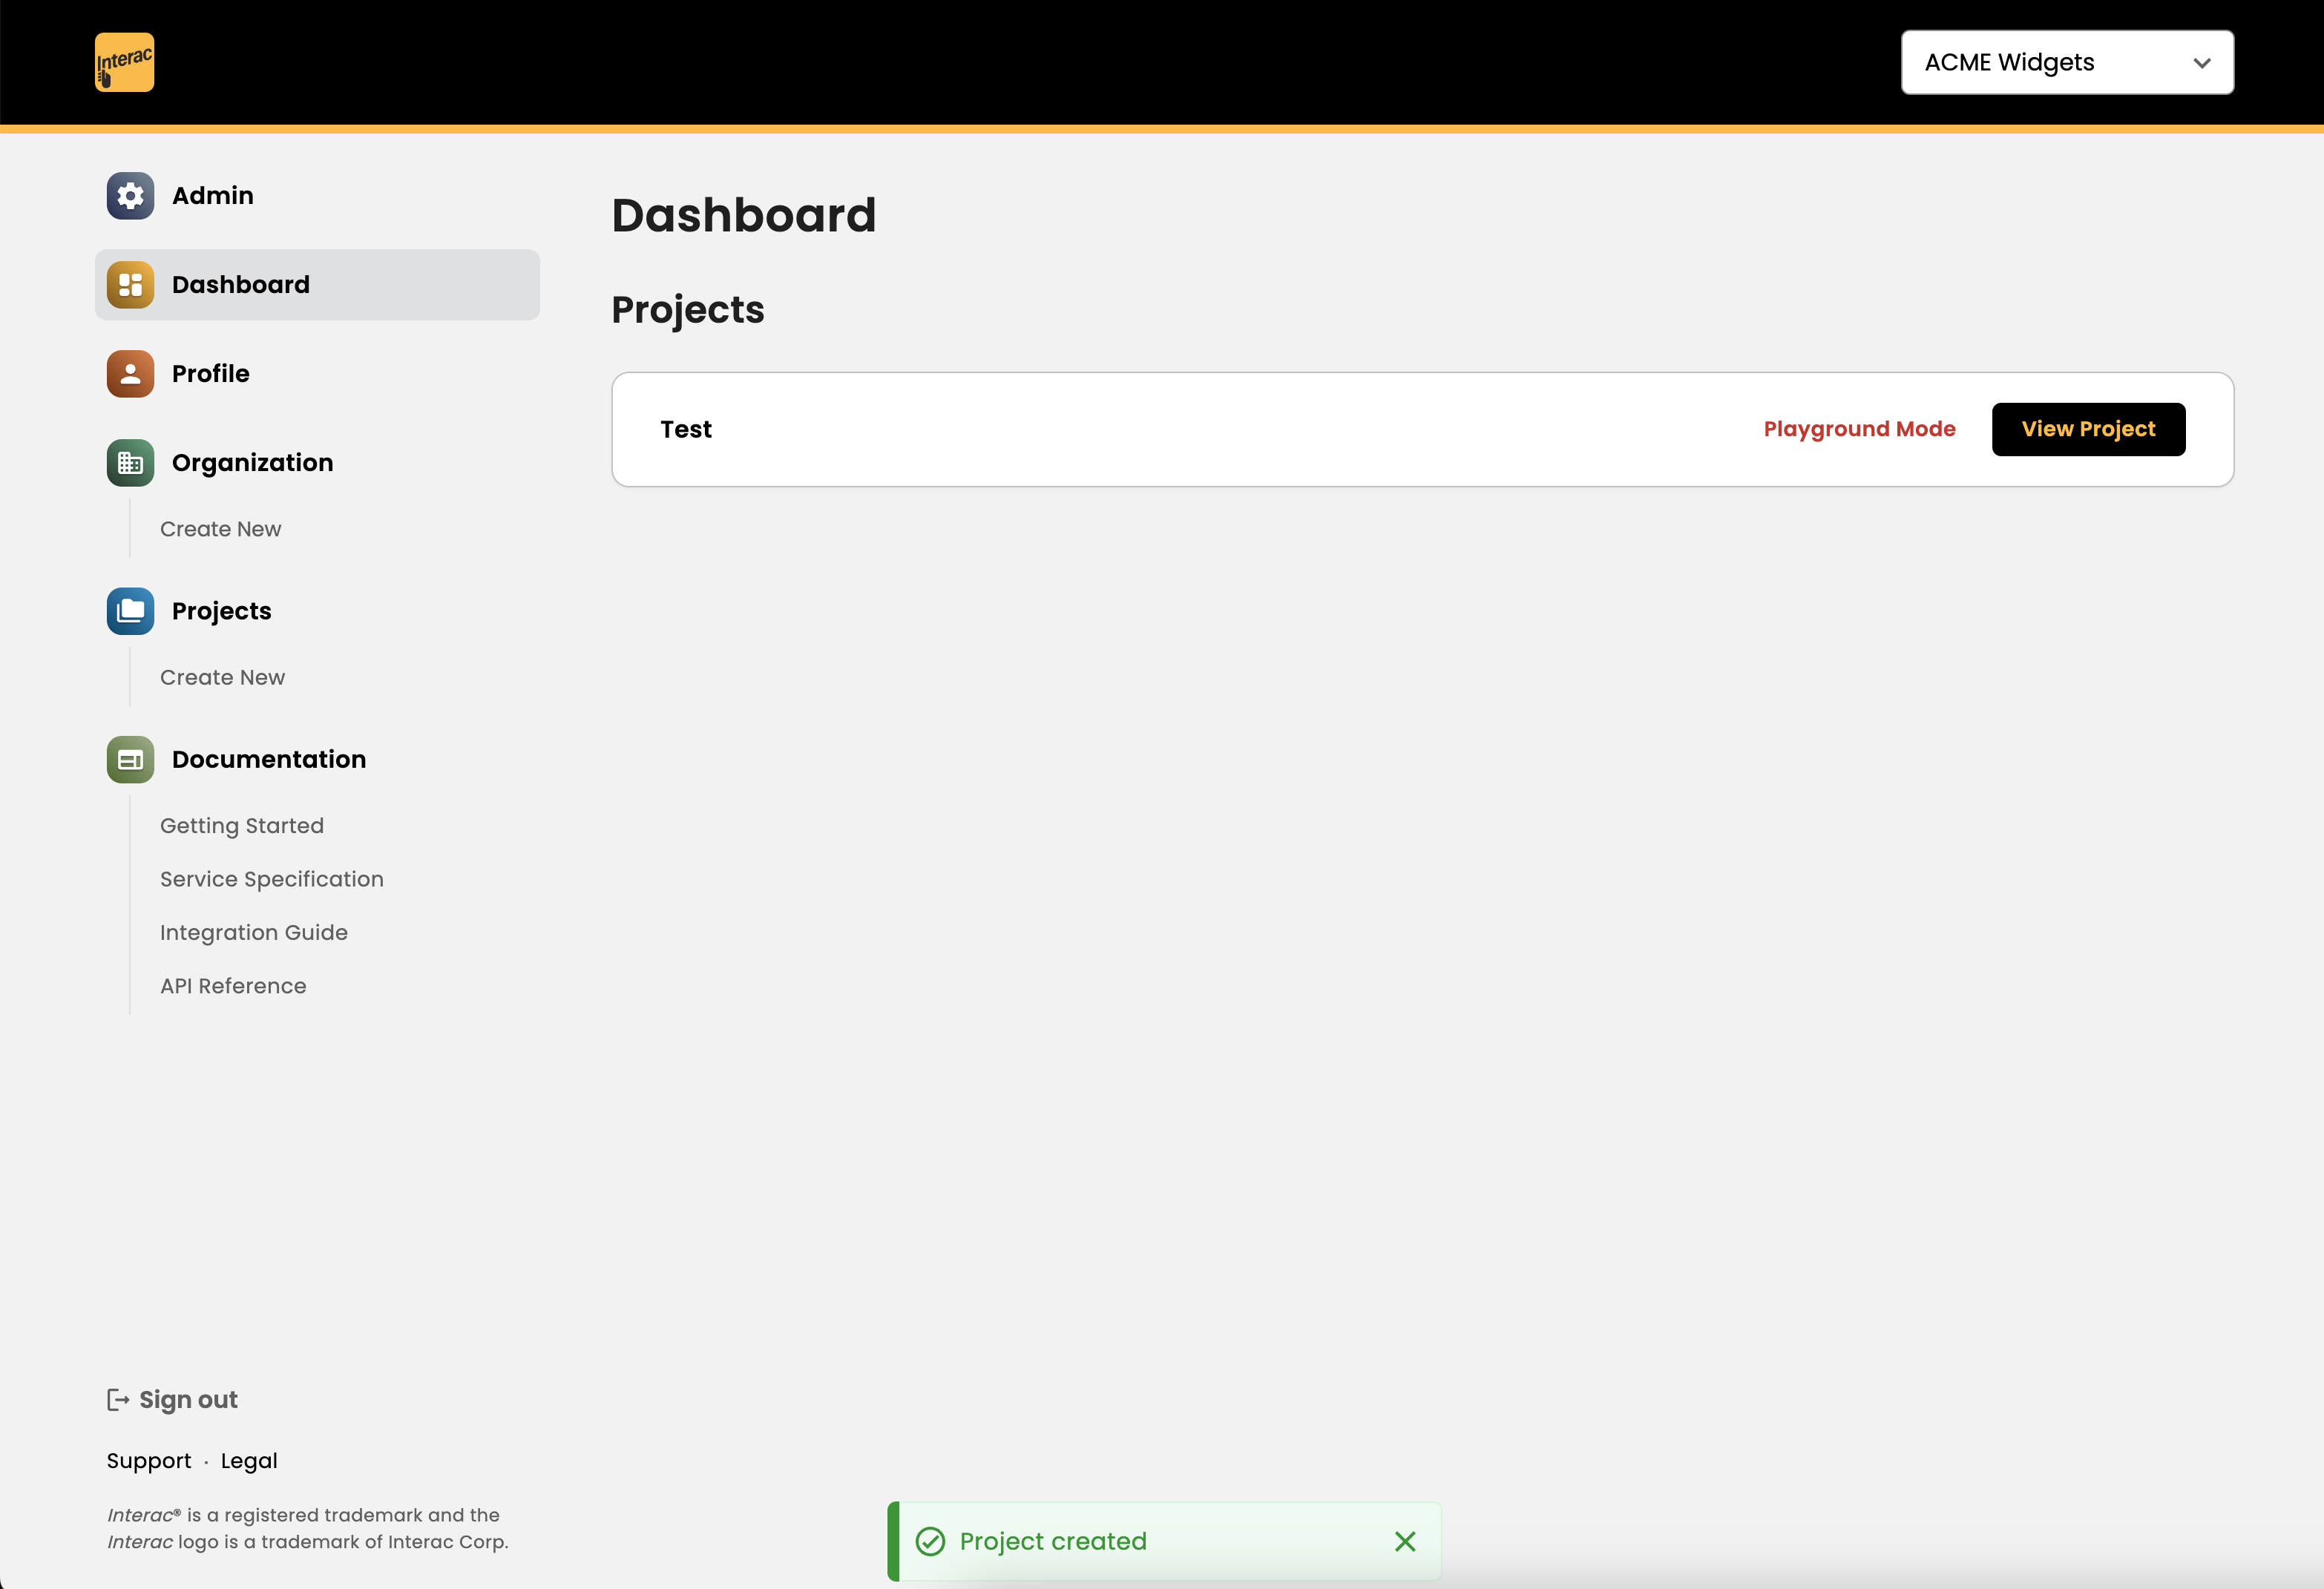
Once the project has been created, you will find it on the Projects screen.
Updated 3 months ago